
What Goes Wrong When You Add Trim to Drywall-Wrapped Openings in a Tract Home?
Quick Answer
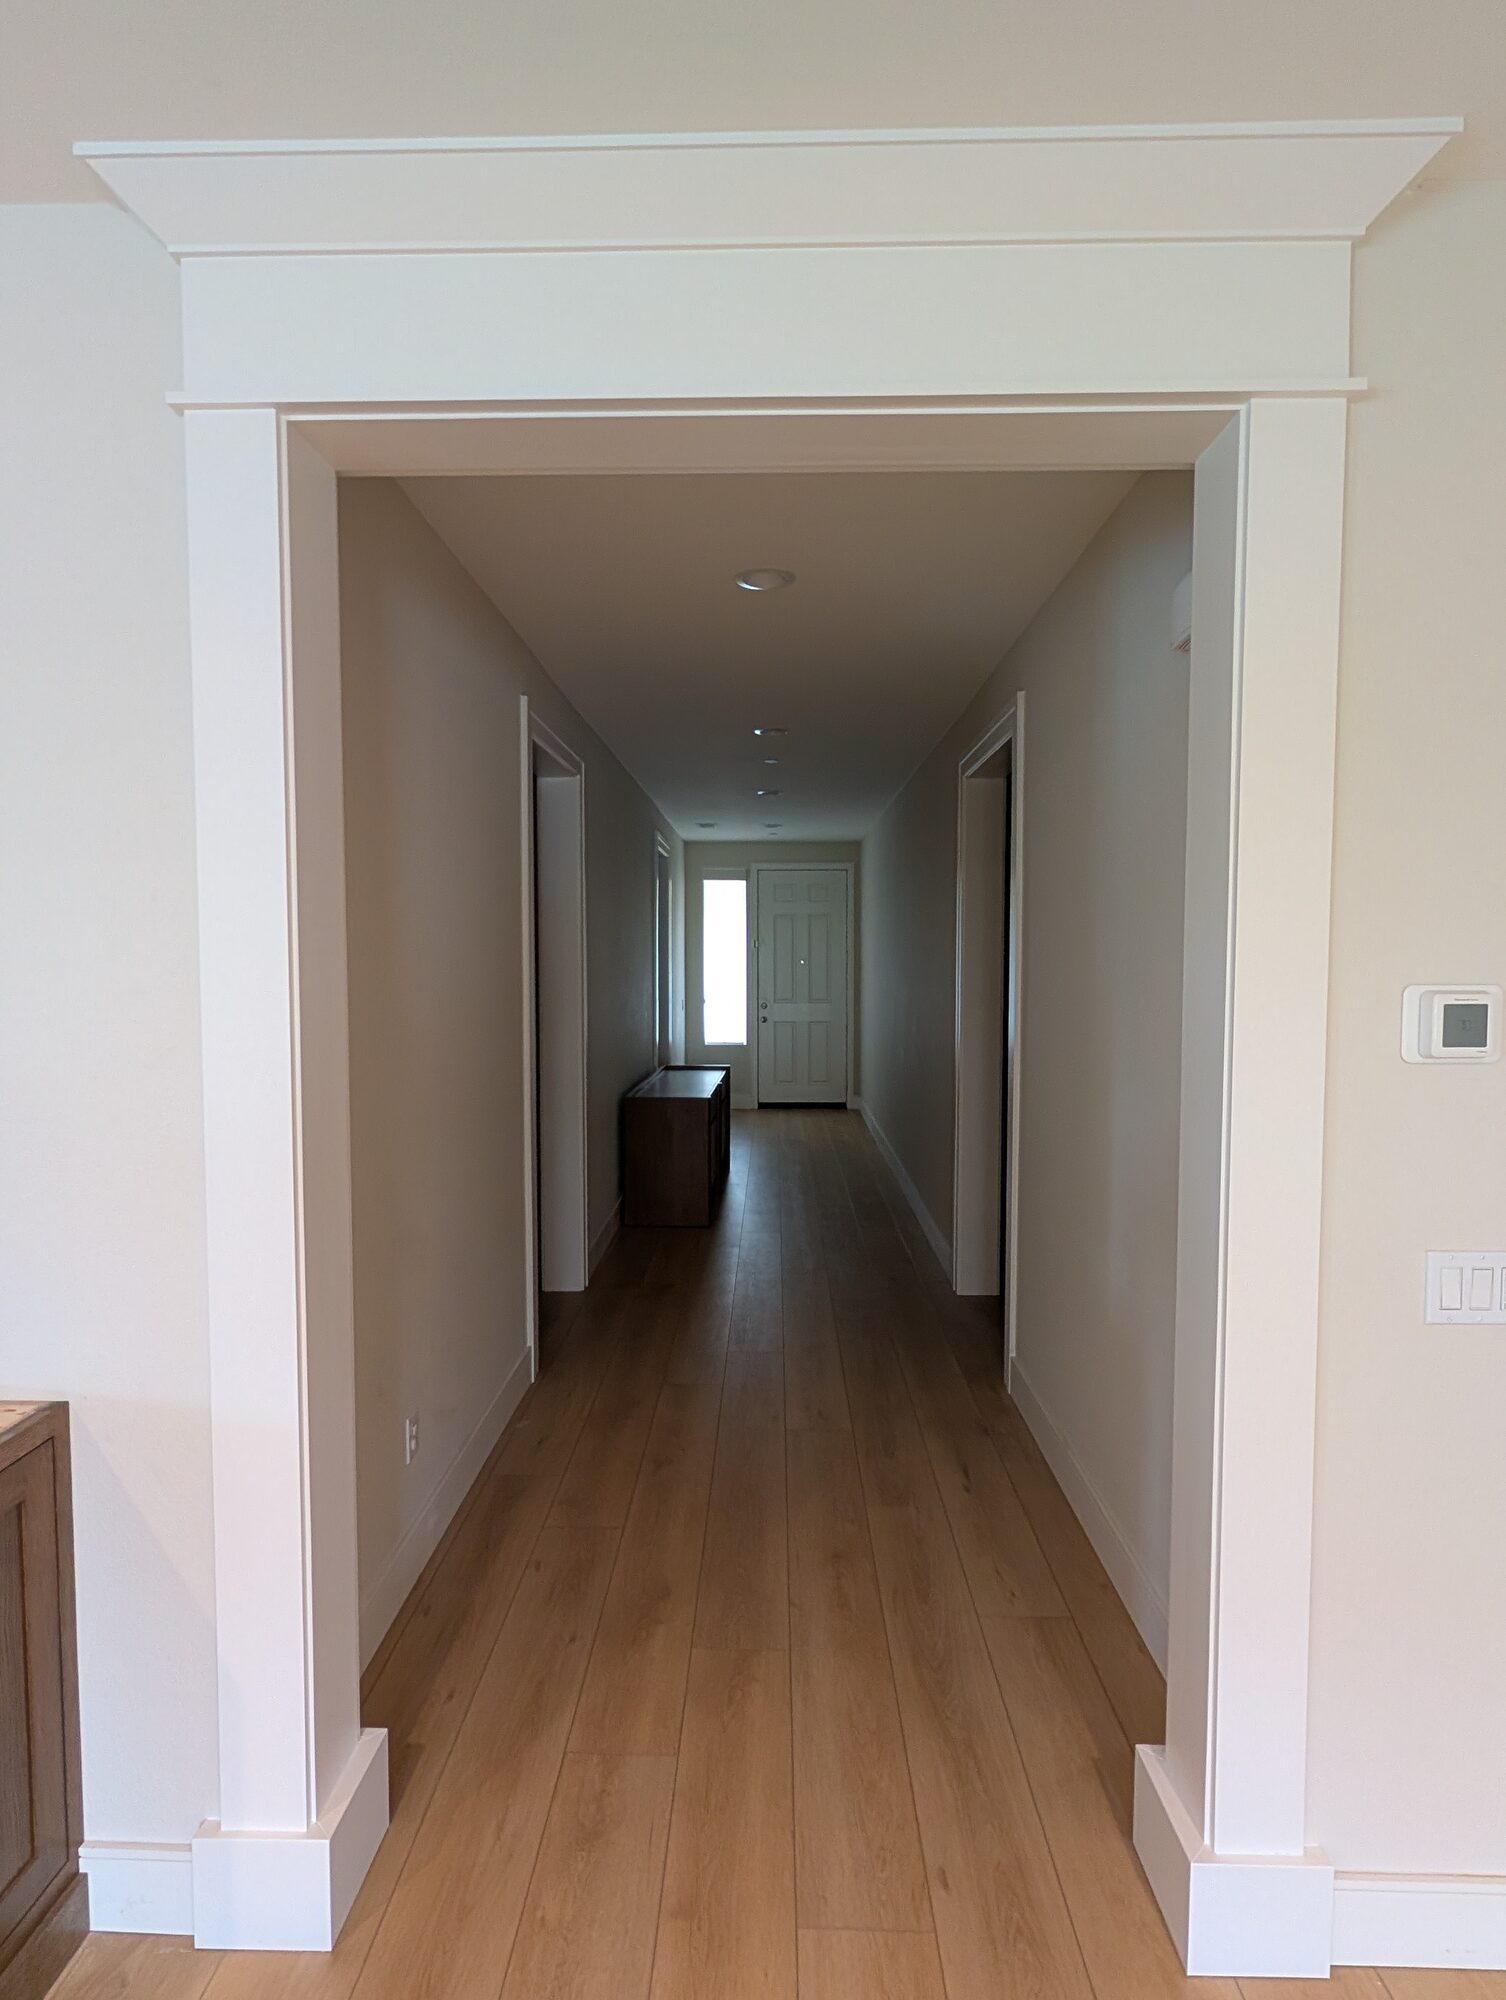
Holland & Sons Construction sees the same problem on most cased-opening jobs in Menifee and the Inland Empire: the drywall-wrapped opening underneath is not plumb, not square, and not the same width top to bottom, because production framing was built to be covered with drywall, never trimmed. Most of what goes wrong afterward (uneven reveals, casing that rocks on the wall, drywall still showing inside the passage, joints that open and stay open) traces back to trimming that opening without truing it first. Some of it does not: wood moves with the seasons and caulk fails on its own, and the post separates the three. The fix for the preparation problems is a fur-out and real jambs before any casing goes on, and all of it can be checked before paint.
Key Takeaways
-
The most common problem is not a bad cut. It is a good cut nailed to a crooked opening with nothing solid behind it.
-
The decision that matters most: whether the quote builds jambs on a furred-out opening, or nails casing to the drywall edge. One lasts; the other shows a caulk line by the first winter.
-
Inland Empire summers pull moisture out of trim fast. Dry stock, solid backing, and flexible caulk keep normal movement invisible; nothing eliminates it.
-
Holland & Sons furs out every opening with kiln-dried stock before a jamb goes in, and covers doors and trim with a five-year workmanship warranty.
-
See this in action: five openings in Audie Murphy Ranch, Menifee, trued and cased in four days: Painted Trail Cased Openings
The fear behind this question is usually specific: you pay for trim, it looks great the day the crew leaves, and by Christmas there is a dark line at every corner and a gap you can slide a card into behind the casing. That happens. It happens for reasons you can see coming, and a few you can check with a tape measure before anyone picks up a paintbrush.
A drywall-wrapped opening in a Menifee or Murrieta tract home was never built to be trimmed. The framer set studs fast, the drywaller folded the board around the corner with a metal bullnose bead, and nobody measured whether the two sides were parallel because it did not matter. Then you decide you want wood there, and suddenly it matters a great deal. This post is about what goes wrong when that fact gets skipped, how Holland & Sons builds around it, and what you can look for yourself before the paint hides the evidence.
What Is the Most Common Problem with Cased Openings in a Tract Home?
The opening is not plumb (straight up and down), not square, and not the same width at the top, middle, and bottom. Measure a passage in a production home at those three heights and you will usually get three numbers, sometimes a half inch apart. Put a straight piece of casing on a wall like that and one of two things happens: the carpenter shims it out to look straight, leaving a hollow behind it that gets filled with caulk, or the casing follows the wall and the reveal (the small step between the jamb edge and the casing) wanders from a quarter inch at the top to nothing at the bottom. Both are among the tells of builder-grade trim, and both are avoidable.
The second most common problem is the one you cannot see from the room: casing with no jamb behind it. The drywall corner stays, rounded, inside the passage. From the hallway it reads as a frame. From inside the opening it reads as drywall with a wood border.
Fear Removal: The Questions People Are Actually Worried About
Will you have to tear out my drywall? No. The drywall stays on nearly every job. The sides of the opening get furred out, which means straight, dry stock is fastened to the framing to build a true surface, and the jambs go on over that. Widening or raising an opening is a different project; that touches the header framing above the opening and usually needs a permit.
Will the opening get narrower? By an inch or two, depending on how far out of plumb it started. The fur-out and jambs take a little width. On most hall openings that is invisible. Where width matters, for a walker, a wheelchair, or a piece of furniture that has to pass, give the finished clear width you need at the first meeting and it becomes a line in the scope. The finished opening is then set to that number first, and the fur-out is kept to the minimum that still trues the opening; on a badly out-of-plumb opening that can mean taking a little drywall back on one side rather than building the other side out. Measure the clear width after the jambs are in and before the casing goes on, when it is still easy to adjust.
Will it crack? Wood moves. The question is whether you will see it. Three different things get blamed on one another here, and it helps to separate them. Seasonal movement is the wood itself shrinking in a dry season and swelling in a wet one; it is normal, and a hairline at a joint in January that closes in July is movement, not a defect. A backing deficiency is a hollow or a shim behind the casing; that shows as a gap that opens and stays open, or casing that flexes. Caulk failure is a bead that was too thin, or a rigid caulk, or caulk applied over dust; it cracks on its own even over perfect carpentry. Glued joints on solid backing with a flexible caulk handle the first and prevent the second; the third is a paint-prep question. Nothing eliminates movement; the construction decides whether it stays invisible.
Do I need a permit? Interior finish work like casing and trim generally does not, and the hub post covers the specifics: the full project story. If the scope touches framing or electrical, that changes.
What if the quote looks too good? It usually means jambs or the fur-out are missing from it. Here is what the job should cost when both are included.
Decision Sequencing: What Has to Be Locked In Before Any Stock Is Cut
| Decision | Must Be Locked In Before Fabrication? |
|---|---|
| Which openings get cased, and which one gets the header | Yes: the feature opening sets the casing width and header size for every other opening |
| Flooring and baseboard: staying or changing | Yes: jamb length, column base height, and casing width all depend on the finished floor and base |
| Casing width and header proportion for the ceiling height | Yes: this is drawn, not guessed on the wall |
| Material by location (pine, poplar, MDF, factory-primed stock) | Yes: decides what gets ordered and what gets acclimated |
| Paint color and sheen | No: can be chosen during carpentry, as long as the product is a hard trim enamel |
| Interior doors in the same hallway | No: a cased opening does not depend on the doors, though matching casing profiles is worth planning |
| Wall paint | No: trim is cut in and painted first; wall color can follow |
How a Cased Opening Is Built So It Stays Flat
The sequence Holland & Sons follows on every drywall-wrapped opening, whether in Menifee, Temecula, or Norco:
-
Inspect. Sight down both sides and across the head for bow and twist. Check for the thermostat, switches, and outlets that sit close to the opening.
-
Measure at three heights and two depths. Width at top, middle, and bottom; wall thickness on both sides. The smallest width and the largest thickness govern.
-
Establish the finished opening. Decide the final width and the reveal, and mark them on the wall so every piece is cut to the same target.
-
Prepare solid backing. Fur out the sides and head with kiln-dried stock, shimmed to plumb and square, so the jambs have continuous support from top to bottom.
-
Install jambs. Solid stock ripped to the full wall thickness, so the inside of the passage is wood from face to face and the casing has an edge to register against.
-
Install casing. Glued and nailed, both faces, reveal held with a gauge rather than by eye. Header and column bases on the feature opening.
-
Finish. Fill, sand, caulk the reveals and wall lines with a flexible caulk, prime bare spots, two coats of trim enamel.
Finish carpenter Brian Campbell, writing in Fine Homebuilding in 2021, put the cause of most open casing joints simply: the wall ends up thicker than the jamb because framing and drywall are imperfect. Step 4 and step 5 exist to take that problem off the table before the casing ever shows up.
Common Mistakes, and How Each One Is Prevented
1. Shimming the casing instead of truing the opening. It is faster to shim a piece of casing out until it looks straight than to fur out the whole opening. It also leaves a hollow behind the casing, and the first time a laundry basket hits it the caulk line cracks. Holland & Sons furs out every opening before any jamb goes in, so the casing sits on solid wood its full length.
2. Casing with no jamb. The rounded drywall corner stays inside the passage, and the casing has nothing to register against, so the reveal is whatever the drywall says it is. Full-thickness jambs are the fix, and they are the single biggest difference between a cased opening and casing around a hole.
3. Stock that has not acclimated, or stock that was never dry. Framing lumber and some off-the-rack trim carry enough moisture that mitered corners open as they dry out in an Inland Empire summer. Kiln-dried, factory-primed fascia for built-up pieces, and a few days in the house for everything else, takes most of that movement off the table. Most, not all; wood never stops moving entirely.
4. A header sized without looking at the ceiling. A head casing that is too thin reads as a board over a doorway. One that is too tall crowds a nine-foot ceiling and makes the opening look short. The header is drawn to the ceiling height and the opening width before stock is ordered. Here is how we size baseboard, casing, and crown.
5. Over-nailing and sloppy fill. Too many nails split the stock and leave a constellation of filled holes that telegraph through semi-gloss paint. Glue carries the joint; nails hold it while the glue sets. Fewer nails, set cleanly, filled once, sanded flush.
How to Avoid All of This: A Four-Point Check Before Paint
-
Sight down each side of the opening from a few feet back. The casing should lie flat against the wall with no shadow line or caulk bead behind it.
-
Measure the reveal at the top, middle, and bottom of each jamb. Same number, every time. A quarter inch is common; the number matters less than the consistency.
-
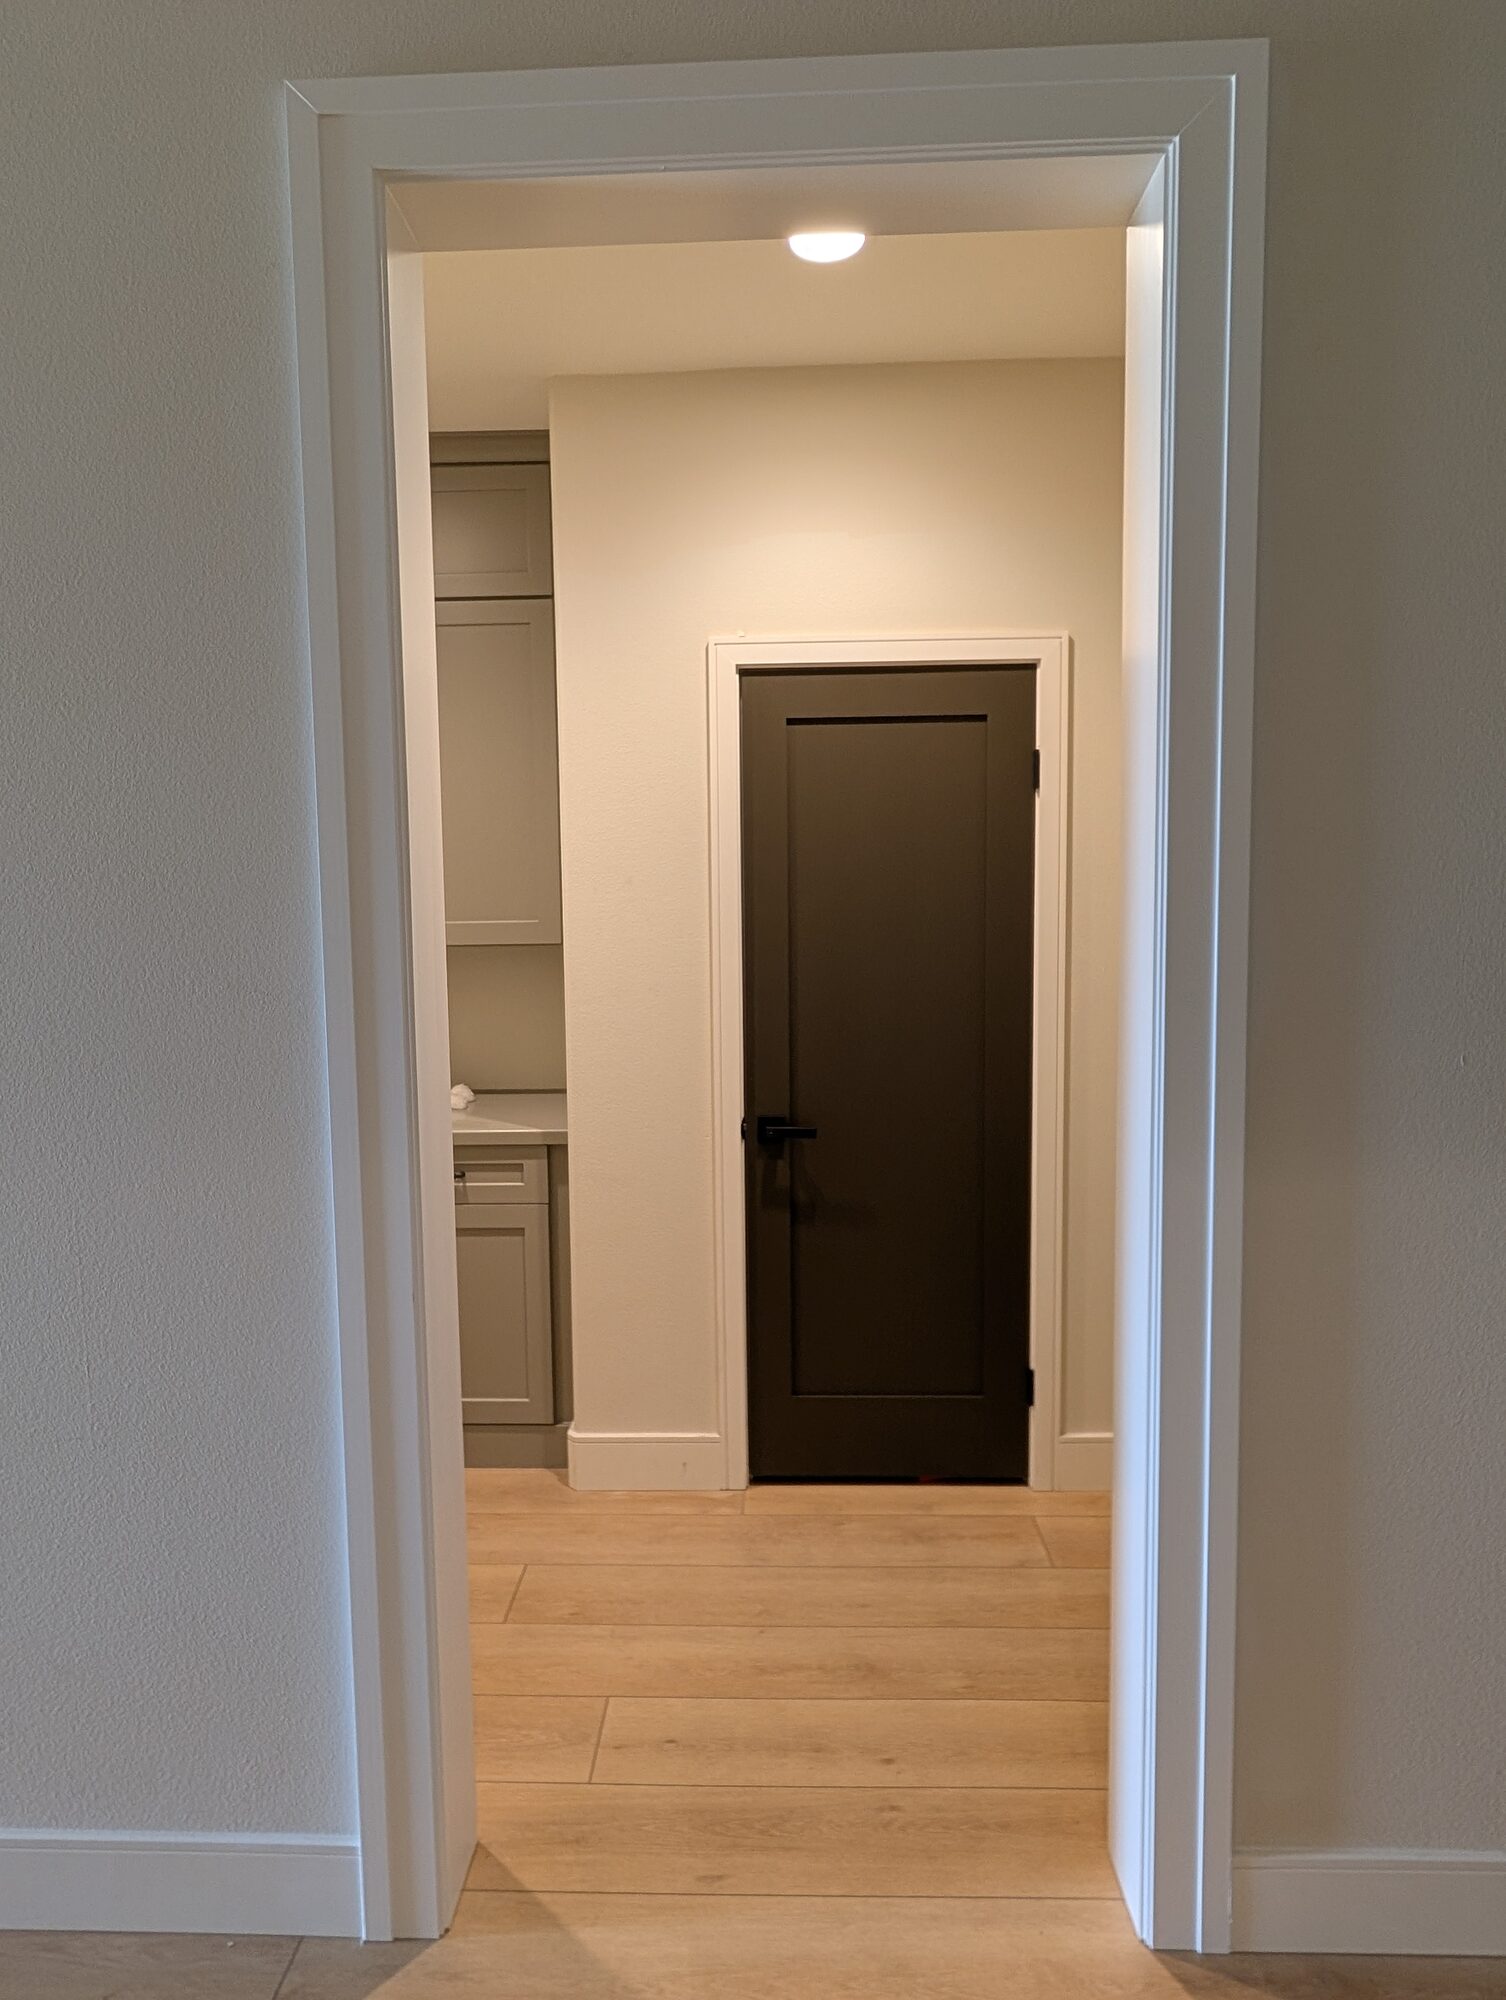
Stand inside the passage and look at the sides. Wood, face to face. No drywall, no bullnose.
-
Press the casing at mid-height with your palm. It should not move. If it flexes, there is a void behind it.
If a contractor cannot show you those four checks before the paint goes on, here is how to evaluate a trim carpenter before you hire one.
See This In Action: Painted Trail Trim
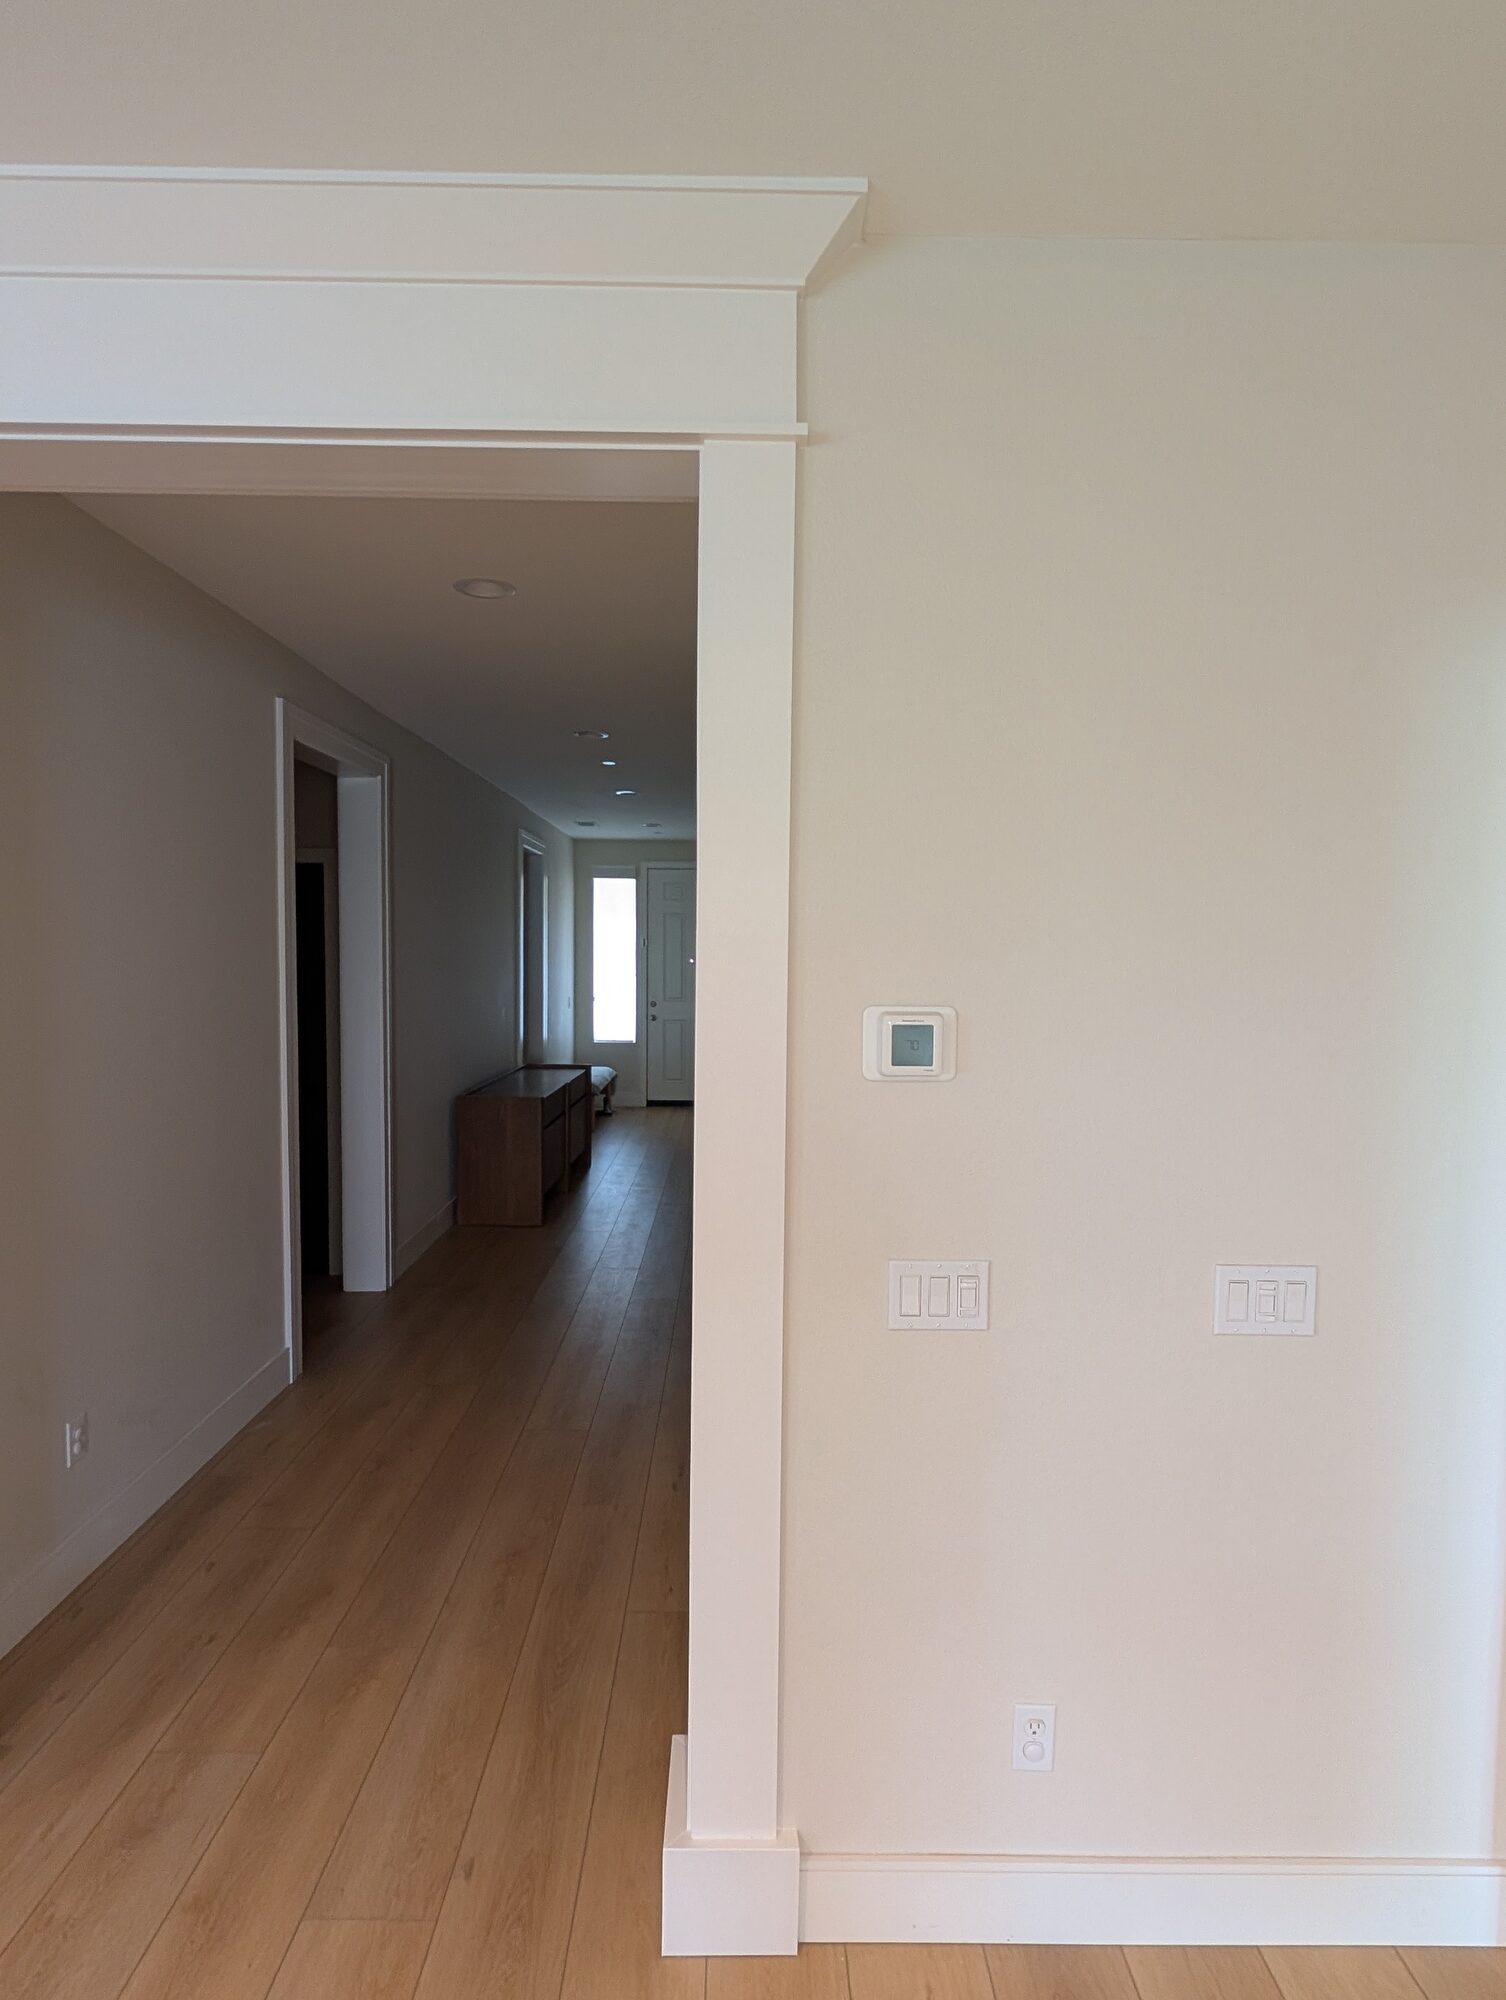
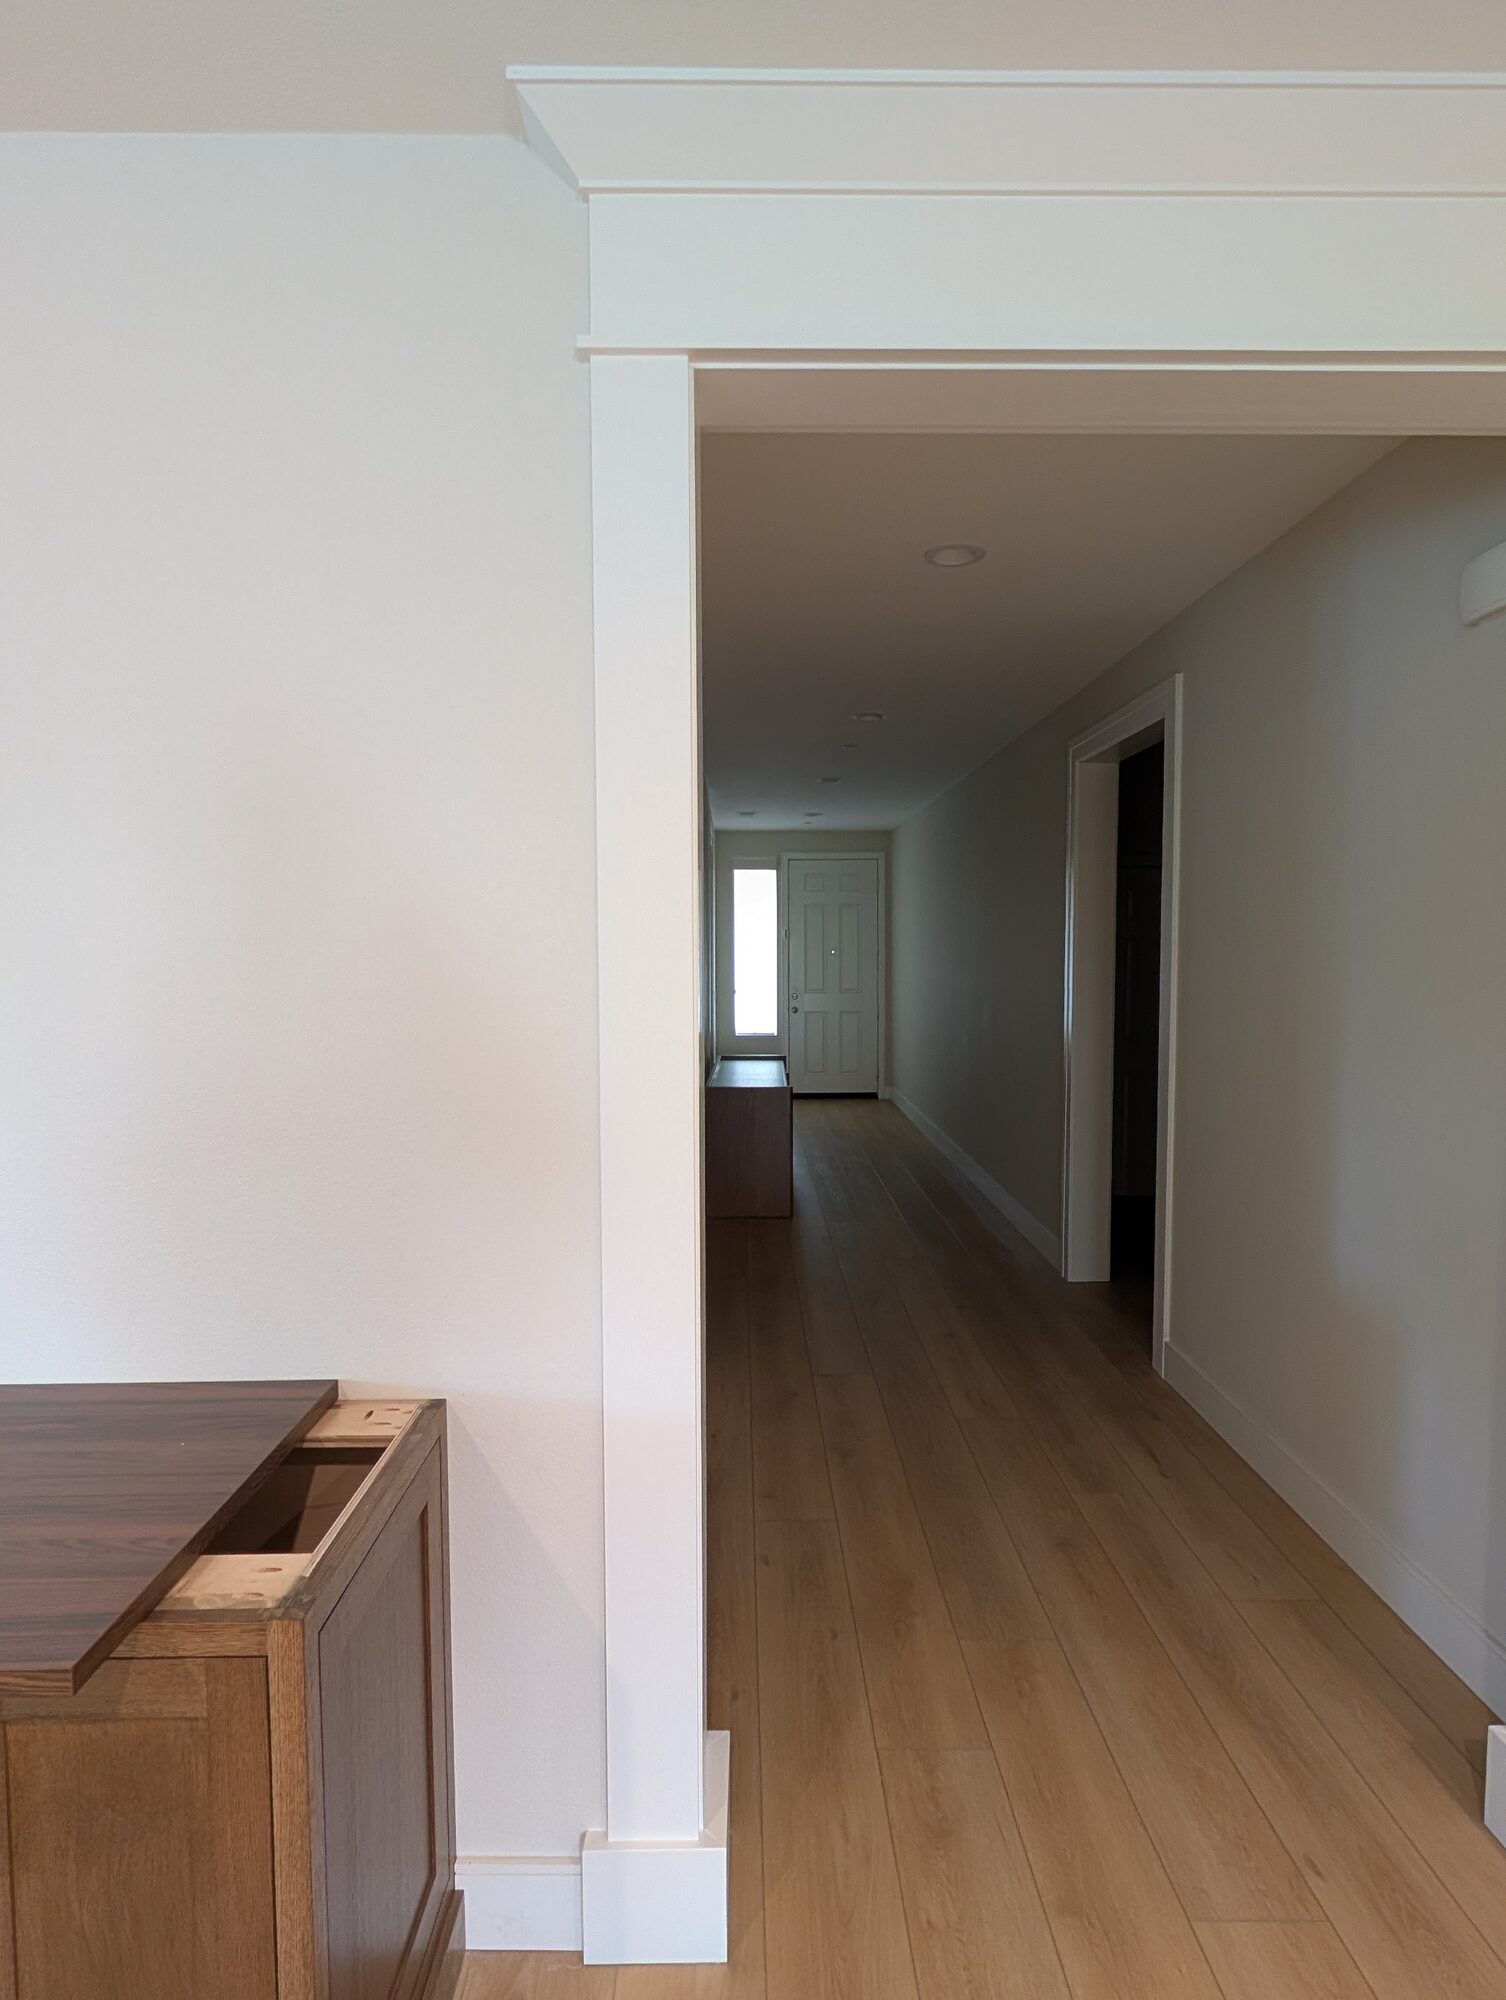
Three numbers on one opening: the main passage on the Painted Trail Trim project measured three different widths at the top, middle, and bottom before anything was built, which is normal for production framing and the reason the fur-out exists.
What we used on this project:
-
Kiln-dried fir fur-out built into the sides of all five openings before any jamb was installed
-
Solid pine 1x10 jambs ripped to the full wall thickness, so no drywall shows anywhere inside the passages
-
Column bases built as mitered boxes from WindsorONE kiln-dried, factory-primed fascia, not framing lumber, so the miters hold up far better as the house dries out
-
MDF used only on the crown, up high and away from anything that gets bumped or mopped
-
Every joint glued and caulked, then two coats of Sherwin-Williams Emerald Urethane Trim Enamel over two days on site
The hub post has the photos of each opening, the full material table with the alternatives considered, and the four-day timeline. Link: the full project story
Should You Do This Yourself?
Casing an opening that already has a jamb is a fair weekend project for a careful homeowner with a miter saw and a nail gun. Casing a drywall-wrapped opening is a different animal, and the place it goes wrong is step 4: building a plumb, square, solid fur-out inside an opening that is none of those things. That step is invisible when it is done right and expensive to redo when it is not, because the jambs and casing come off with it.
If you want to try it, start with the smallest, least visible opening in the house, keep the feature opening for later, and plan on the fur-out taking longer than the trim. The point where most homeowners hand it off is the built-up header: three pieces that have to stack to a proportion, land level on an out-of-level head, and meet the casing with a consistent reveal on both faces. There is no shame in that handoff. That is the part a finish carpenter spent years learning.
The Holland & Sons Angle
Three widths on one opening is where this project started, and it is where the thinking started too: not with the header and the crown, which are the parts in the photos, but with the fur-out, which is the part nobody will ever see. Brian's approach to an opening like that has not changed in a long time. Build the opening true first, then trim it. Everything that sits on top of a crooked opening inherits the crook, and everything that sits on a true one looks like it belongs there. On the Painted Trail job, both of Brian's sons were on site, and the lesson of the day was the fur-out: the part that gets covered up, the part that takes an extra hour, and the part that decides whether the casing sits flat in five years. Learning which invisible decisions matter is the whole apprenticeship.
Related Resources: Cased Openings and Craftsman Trim Guide
This post is one of six companion guides built around the Painted Trail Trim project in Menifee. Together they cover the whole decision, from what it costs to who should build it.
-
Cased Openings and Craftsman Trim in Menifee, CA: Five Openings, One Crown, and Knowing Where to Stop (Painted Trail Trim): the project itself, with photos, the full $6,737 breakdown, the four-day timeline, and every material decision
-
How Much Does It Cost to Case Openings and Add Craftsman Trim in Menifee in 2026?: real ranges per opening, what moves the number, and how to read two quotes side by side
-
MDF vs. Pine Trim: Which Is Right for Your Inland Empire Home?: where each paint-grade material belongs, with poplar and factory-primed stock in the mix
-
What Paint Finish Should You Use on Custom Interior Trim? A Finish Carpenter Compares the Options: what installed trim has to survive, and which finishes hold up to it
-
How to Hire a Trim Carpenter in Menifee: What Good Trim Work Looks Like Before You Sign: a scorecard, the questions that sort the carpenters from the guessers, and what a complete quote includes
-
Should Every Doorway Get the Same Trim? Where to Put the Crown and Where to Stop: how to decide which openings match, which coordinate, and which one gets the emphasis
Frequently Asked Questions
Can you add trim to a drywall-wrapped opening without tearing out the drywall?
Yes. The drywall stays. The sides of the opening are furred out (built up with straight, dry stock) to a true surface, new jambs are installed over that at the full wall thickness, and casing goes on both faces. Nothing structural changes. What does not work well is nailing casing straight to the rounded drywall corner with nothing behind it, because the casing has no solid edge to land on and the bullnose corner still shows inside the passage.
Do I need to remove drywall before casing an opening?
No. Holland & Sons leaves the drywall in place on nearly every cased opening in Menifee and the Inland Empire. The jambs cover the inside of the opening and the casing covers the drywall edge on each face. Removing drywall only comes up when the opening is being widened or raised, which is a framing job and usually needs a permit.
Will casing an opening make it narrower?
Slightly, and by a predictable amount. Furring out the sides and adding three-quarter-inch jambs typically takes an inch to two inches out of the width, depending on how far out of plumb the opening started. On a 36-inch hall opening that is noticeable but rarely a problem. On a narrow passage, or anywhere a wheelchair or walker needs to pass, say so before the design is set so the fur-out can be kept to the minimum and the width protected.
Why does my trim crack at the joints every winter?
Because wood moves and the joint was not built to handle it. The USDA Forest Products Laboratory's Wood Handbook explains that wood shrinks and swells as its moisture content changes, and Inland Empire summers pull moisture out of trim fast. A joint that was glued, nailed on solid backing, and caulked with a flexible caulk will usually ride that movement without opening. A joint that was shimmed over a hollow, or cut from stock that was still damp, shows a line the first dry season. Movement itself is normal; a visible crack usually means the backing or the material was not ready.
Does MDF trim expand and contract?
It does, and differently from solid wood. The Composite Panel Association's technical bulletin on dimensional stability notes that MDF swells in thickness when it takes on moisture and that the swelling is not fully recovered when it dries. That is why Holland & Sons keeps MDF up high on the crown, away from floors and wet areas, and uses solid pine where hands and mops land. Which material belongs where is covered in the MDF vs. pine guide in this cluster.
What are the most common mistakes when casing an opening?
Skipping the fur-out and shimming the casing to an out-of-plumb wall; running casing with no jamb so the drywall corner still shows; uneven reveals (the small step between jamb and casing) from top to bottom; a header sized without regard to the ceiling height; over-nailing and filling the holes badly; and installing stock that has not acclimated to the house. Every one of these is visible before paint if you know where to look, and every one is expensive to fix after.
How do I check cased opening work before it gets painted?
Look at four things. First, sight down each side of the opening: the casing should sit flat on the wall with no caulk-filled gap behind it. Second, measure the reveal at the top, middle, and bottom of each jamb; it should be the same number. Third, look at the inside of the passage: wood all the way around, no drywall showing, no bullnose corner. Fourth, press on the casing at mid-height; it should not flex. If all four pass, the paint will hide what it is supposed to hide, which is nail holes and nothing else.
Should I case the openings before or after new flooring?
Flooring first is the easier sequence, because the jambs and column bases can land cleanly on the finished floor and the baseboard height is known. If the flooring is not changing, the openings can be cased any time. If both are happening, lock the flooring thickness before any trim stock is cut, because a quarter inch of difference changes the base height and the header proportion.
Worried About What's Behind the Drywall? Good.
That instinct is the right one. The openings in a new build were not made to be trimmed, and the carpenter who takes that seriously before the first cut is the one whose work still looks right in five years.
Start your project at hsconstruct.com/contact. Fill out the form, describe the project, and upload a photo or two of the openings or trim you are thinking about, plus any inspiration photos you have saved. Brian reads every one. Want to see this advice applied to a real project? Here's the full breakdown: the full project story. More finished work is on Facebook, Instagram, YouTube, and TikTok at hollandandsonsconstruction. We build in Menifee, Murrieta, Temecula, Wildomar, Winchester, French Valley, Lake Elsinore, Perris, Hemet, Norco, Corona, Riverside, and all across Riverside County and the Inland Empire.
951-338-8058 | brian@hsconstruct.com | hsconstruct.com | CSLB #1123738
More Than Just Cased Openings
Truing up and casing drywall openings is one piece of what we do at Holland & Sons, and it is one chapter in a much longer story. Brian has been a finish carpenter since 1991, and his sons now build alongside him, which means every room in your home is fair game. If your space needs more than jambs and casing, here's what else we build:
-
Kitchen and bathroom remodels: full custom cabinetry, tile work, and finish carpentry from demo to done
-
Custom and built-in cabinetry: designed for the room, built in the shop, installed to last
-
Media walls and entertainment walls: built-in TV walls with storage, lighting, and clean cable management
-
Fireplace walls: mantels, surrounds, and full-height paneling that make the fireplace the center of the room
-
Accent walls: paneling, slat walls, and feature walls that give one wall a job to do
-
Mudrooms: lockers, bench seating, cubbies, and hooks, built for the way your family comes through the door
-
Coffered ceilings: grid beam systems that add architectural depth to any room, sized and proportioned to the space
-
Wainscoting and wall paneling: classic raised panel, flat panel, board-and-batten, and shiplap applications
-
Reclaimed wood accents: feature walls, fireplace surrounds, and detail work using salvaged material with real character
-
Beam wraps: hollow wood wraps that give exposed beams the look of solid timber without the structural engineering
-
Crown molding, baseboards, and trim carpentry: the details that make a house feel finished, from a single room to a whole home
-
Cased openings and interior door replacements: clean transitions between spaces that most contractors overlook
Wood, proportion, and rooms that feel right. That's what we do. hsconstruct.com
About the Author
Brian Holland is the owner and lead carpenter of Holland & Sons Construction, a family-run finish carpentry and general contracting company serving Riverside County and the Inland Empire. He entered the trade at 17 in 1991, learned on the job, and has spent every year since building the kind of work that makes rooms feel right, often before a homeowner can articulate why. Many projects start at his vintage drafting table, where he sketches the layout by hand with pencil and paper using a Vemco drafting machine before anything gets built. His sons now apprentice alongside him on every project. Holland & Sons is based in Perris, CA and licensed by the CSLB (#1123738).
Memberships & Credentials: NAHB Member | CBIA Member | NARI Member | BBB A+ Rated | Tanya Holland, NAHB Certified Aging-in-Place Specialist (CAPS) | CSLB #1123738
This guide is part of our interior doors & trim series.
Learn more about Interior Doors & TrimHave a project in mind? Let's start a conversation.
Tell us what you are thinking about and we will give you a straight answer about scope, timeline, and investment.
Start a Conversation