
Nickel-Gap Paneling Mistakes: What to Know Before You Panel Your Walls
By Brian Holland, Owner and Lead Carpenter, Holland & Sons Construction · Carpenter since 1991 · CSLB #1123738 · NARI Member · NAHB Member
Published
Quick Answer
The most common nickel-gap paneling mistake is skipping the layout math — installing boards wall by wall instead of planning the whole run first, which leaves a full board on one end and a thin sliver on the other. Close behind: installing straight off the truck without acclimating the material, ignoring moisture in bathrooms and laundry rooms, and treating outlets and switches as an afterthought. Every one of these is preventable with planning, and none of them show up as line items on a quote until they go wrong.
Key Takeaways
-
Layout math — not the paneling itself — is where most nickel-gap projects go wrong.
-
Acclimating boards to the room before installing prevents gaps and buckling later, especially in a dry inland climate.
-
Standard MDF nickel-gap is not built for bathrooms or laundry rooms without moisture-resistant material and sealed edges.
-
Specialty lengths can come from a single supplier — plan lead time before your crew starts, not after.
Most nickel-gap paneling problems don’t come from the material. They come from what happens before a single board goes on the wall — the layout plan, the acclimation window, and the honest assessment of where the room can and can’t handle this material. Get those right and installation is straightforward. Skip them and you end up with a wall that looks fine in photos and wrong in person.
We’ve installed enough of this material across the Inland Empire to know exactly where it goes sideways. This guide walks through the real failure modes — not generic warnings, but the specific things that turn a clean install into a redo.
The Fear Removal Section
If you’re on the fence about a paneling project, you’re probably worried about a short list of things: permits, whether your walls can even take it, whether the boards will gap open in a year, and whether you’re about to sign up for a contractor headache. Let’s take those one at a time.
Permits: non-structural paneling applied over existing walls typically doesn’t require one in Riverside County. If your project involves moving electrical or touching structural elements, that changes — always verify locally.
Wall condition: builder-grade textured or smooth drywall can absolutely take nickel-gap paneling. The question isn’t whether your walls can handle it — it’s whether the field gets backed with MDF for a flat surface, or whether the trim goes straight over existing texture.
Gapping over time: this is a real risk, but it’s an acclimation and installation problem, not a material defect. Boards that sit in the room and adjust to its humidity before installation move far less afterward.
Decision Sequencing Table
Some decisions have to be locked in before fabrication starts. Others can flex. Here’s the order that actually matters on a nickel-gap job.
| Decision | Must Be Locked In Before Fabrication? |
| Corner treatment — miter-fold vs. trim | Yes — changes the board layout math for the entire run |
| MDF backing vs. applied direct to wall | Yes — backing changes the total wall thickness and casing depth |
| Board orientation — vertical vs. horizontal | Yes — determines how the layout is measured and cut |
| Outlet and switch plate locations | Yes — boards need to be planned around fixed points, not cut around them after the fact |
| Paint color and sheen | No — this can be finalized after installation, as it was on our Ballast Rd. project |
| Baseboard height and profile | No — this can be selected once the paneling height is confirmed on site |
The Secondary PAA Questions — Addressed in Full
Does nickel-gap paneling work in bathrooms or high-humidity rooms?
Standard paint-grade MDF nickel-gap is not a good fit for bathrooms, laundry rooms, or anywhere with sustained moisture — it can swell and delaminate if water gets behind the surface. If you want the look in a wet-adjacent space, moisture-resistant MDF or solid wood with fully sealed edges and joints is the safer call, and even then, ventilation matters. For a dry living space like a great room or hallway — the kind of application on our Ballast Rd. project — standard material performs well.
How do you handle outlets and switches when installing paneling?
Outlet and switch locations get mapped into the layout plan before a single board is cut, not routed around after installation. That sometimes means extending the box with a spacer so the cover plate sits flush with the new wall thickness, especially if the field is backed with MDF. Skipping this step is one of the most common reasons a paneling job looks unfinished around fixtures.
Can nickel-gap paneling warp or swell?
Yes, especially MDF versions exposed to moisture, and especially boards installed without acclimating to the room first. Solid wood versions can also move seasonally, even in a stable interior. The fix on both counts is the same: let the material sit in the installation space for several days before it goes on the wall, and keep it away from direct moisture sources.
Do you need to let paneling acclimate before installing?
Yes. Bringing boards into the room and letting them sit for several days before installation lets the material adjust to the room’s actual temperature and humidity, which is different from the truck, the warehouse, or the supplier’s yard. Skipping this step is one of the fastest ways to end up with gaps opening between boards months after installation.
How long does nickel-gap paneling take to install?
A single accent wall can be done in a day or two. A whole-downstairs job like Ballast Rd. — full paneling throughout multiple rooms and hallways, with every corner miter-folded — took 14 days on site, following 2 days of shop fabrication. Material lead time can add to that: specialty lengths sometimes come from a single supplier, and a delayed shipment can push the schedule by a week or more.
Common Mistakes
1. Installing wall by wall instead of planning the whole run
This is the single most common mistake. Measuring and installing one wall at a time, without planning how the boards land at every corner and every doorway, almost always ends with a full-width board on one end of a wall and a thin sliver on the other. Holland & Sons plans the entire run’s board count before the first board goes up, so widths land even on both ends.
2. Skipping acclimation
Material installed straight off the delivery truck hasn’t adjusted to the room’s actual humidity yet. In a dry inland climate like Menifee, Murrieta, or Temecula, that mismatch shows up months later as gaps between boards that weren’t there on install day.
3. Butting corners instead of planning the treatment
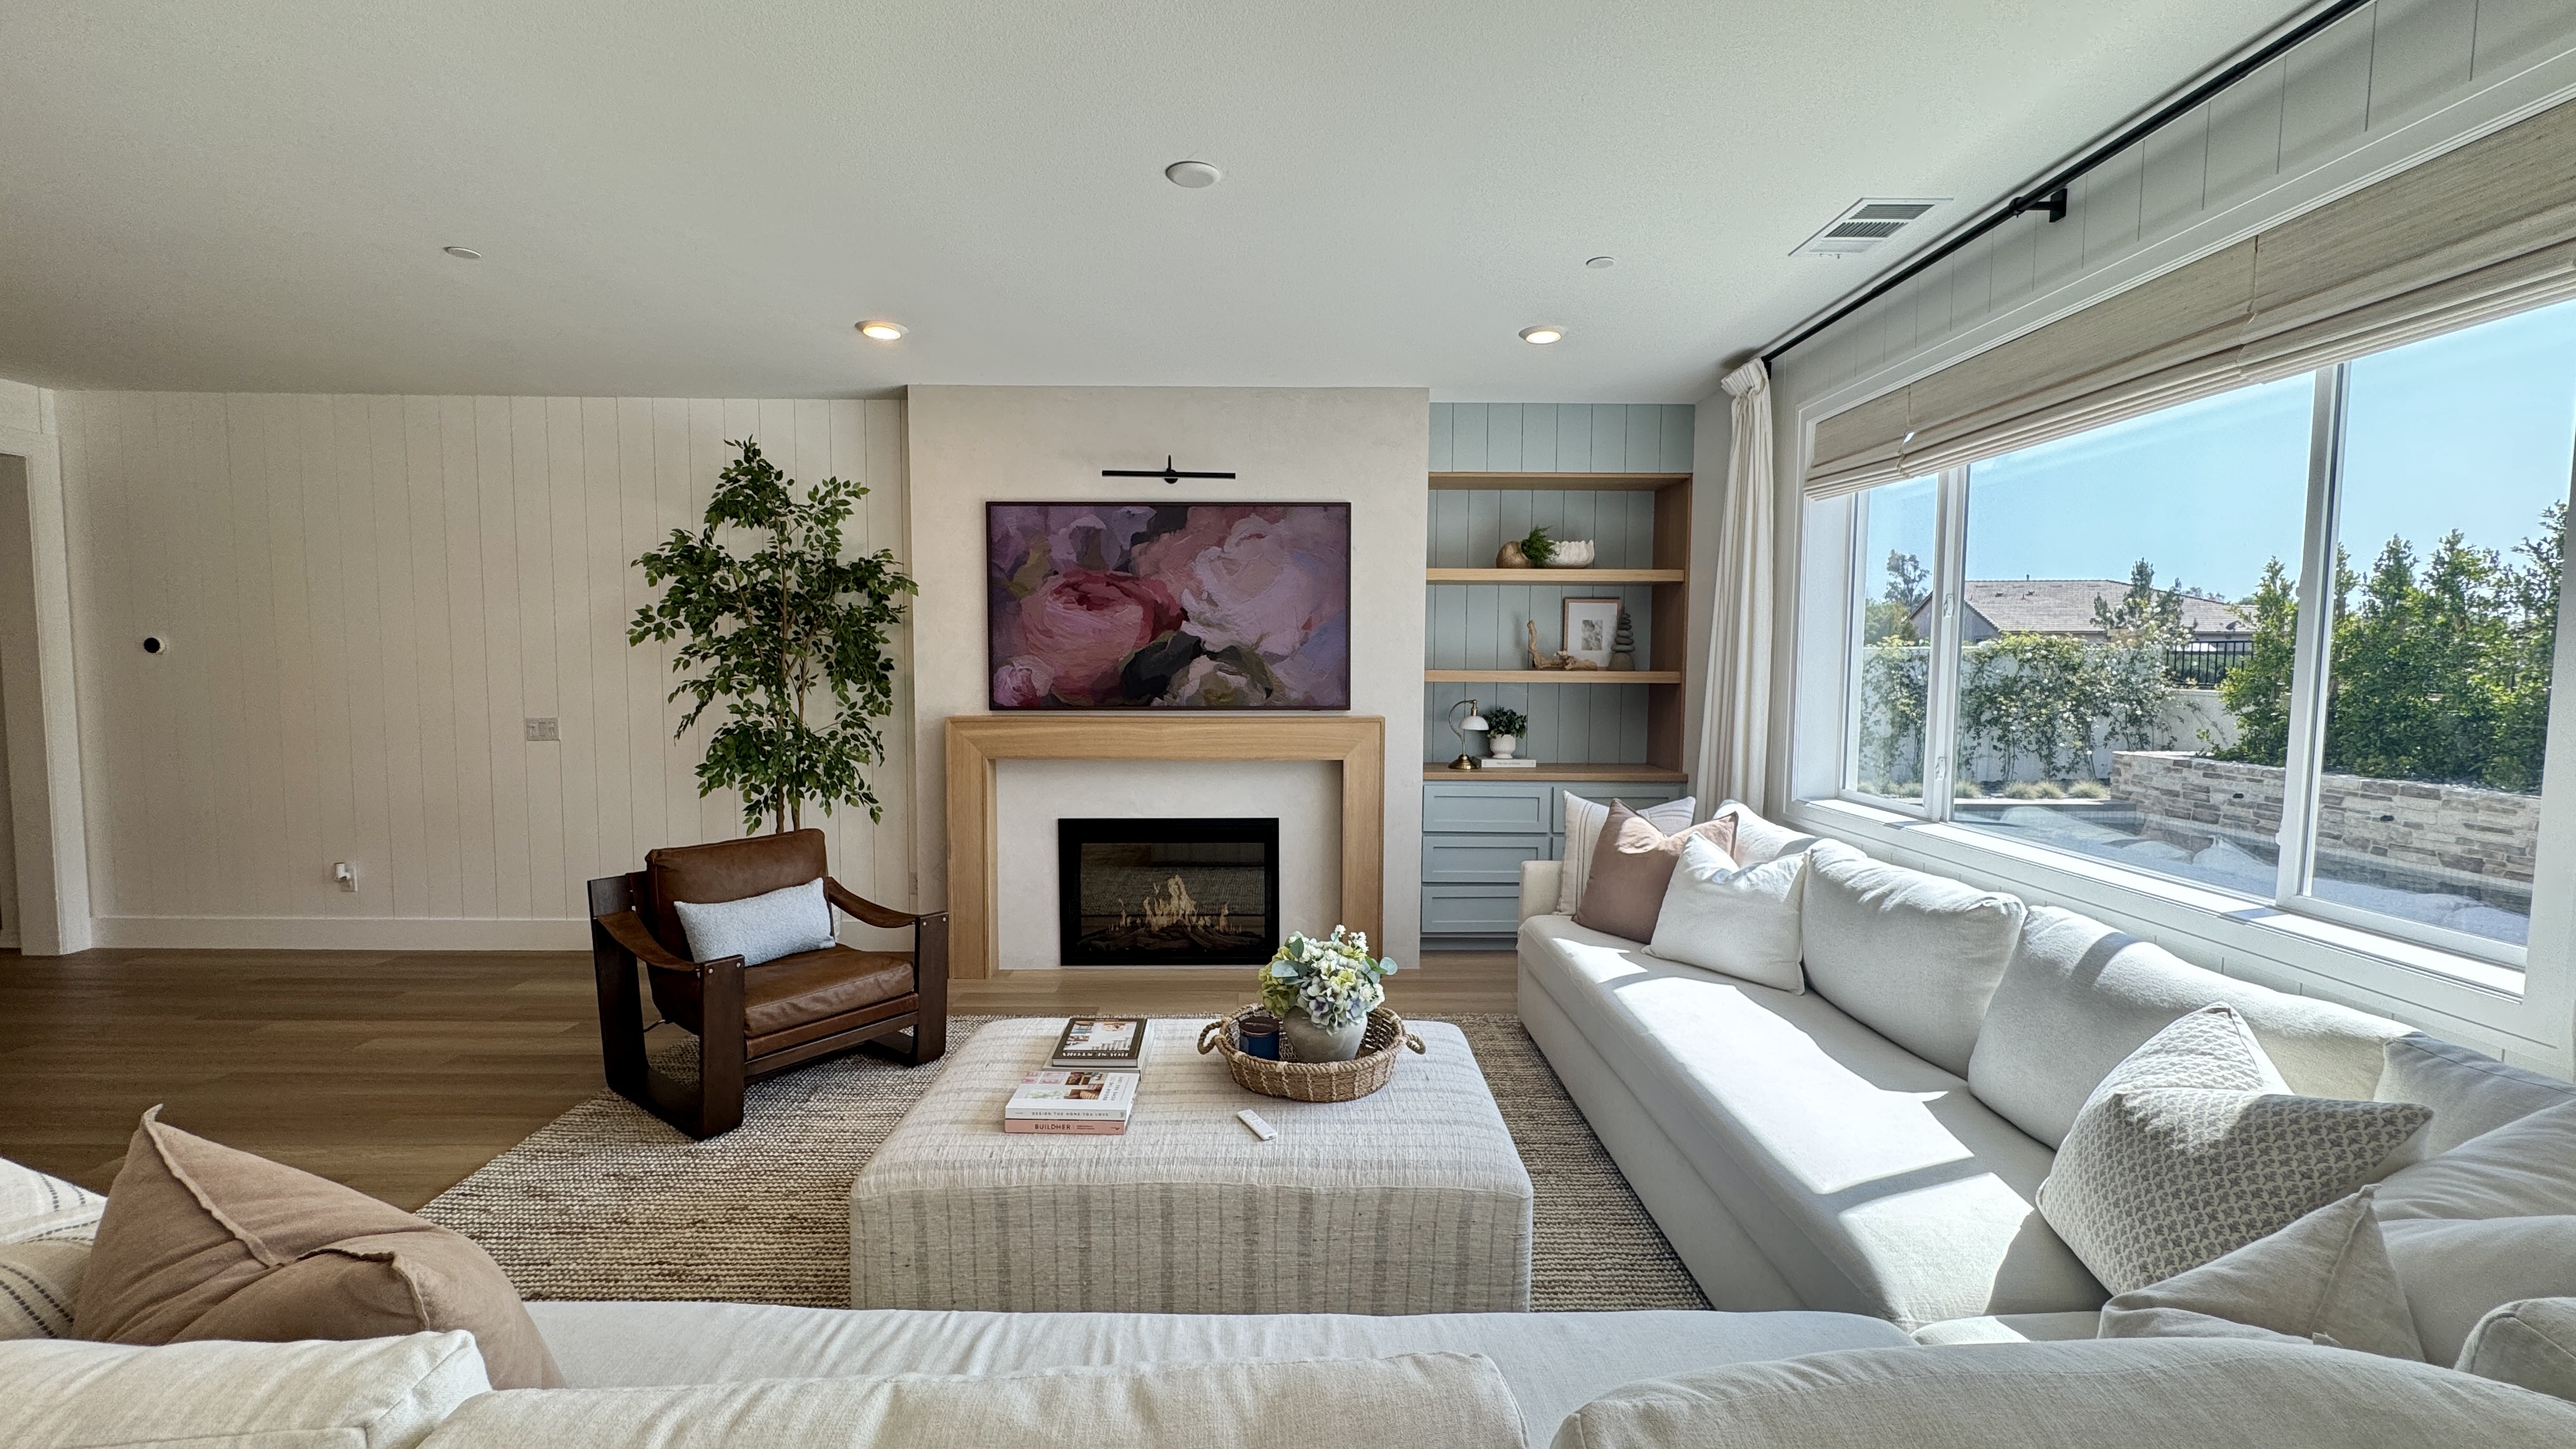
Corners that aren’t planned for tend to get whatever solution is fastest at the moment — usually a corner trim piece that breaks the clean line of the paneling. On our Ballast Rd. project, every corner across the entire downstairs was miter-folded instead, which our full cost breakdown explains in more detail — that decision is made before the job starts, not improvised on site.
4. Ignoring long-length material lead times
Specialty paneling lengths — especially anything over 8 feet — sometimes come from a single regional supplier. On Ballast Rd., a partial delivery of 12-foot stock followed by a delayed second shipment cost about a week. We now confirm lead times and lock in long-length material before the crew ever starts, so a supply hiccup doesn’t stall a job mid-stream.
5. Applying trim straight over untreated builder-grade texture
New tract homes come with textured or smooth drywall that looks fine bare but undermines fine millwork. Trim applied directly over that texture without a backing layer will show every imperfection once it’s painted, and there’s no fixing it after the fact without pulling the trim back off.
The Decision Framework
Before you start: confirm your corner treatment and backing approach in writing, get your board layout planned for the whole run (not wall by wall), build acclimation time into the schedule, and flag any wet-adjacent areas so the material spec can change accordingly. A contractor who raises these questions before you ask them is telling you something about how the rest of the job will go.
See This In Action — Ballast Rd.
A single supplier carried the 12-foot nickel-gap stock this project needed. A partial delivery arrived first, then the rest of the order ran about a week longer than quoted. That’s the kind of honest friction that shows up on real jobs — the difference is whether it derails the schedule or gets absorbed because it was planned for.
What we changed because of it:
-
We now confirm lead times on any long-length specialty material before a crew is scheduled to start
-
We build a buffer into the timeline for single-supplier materials specifically
-
We communicate delays to the homeowner as soon as they’re known, not after they’ve already cost time on site
DIY Assessment
Can a capable homeowner install nickel-gap paneling themselves? For a single accent wall with square corners and no backing, yes — many people do, and it’s a reasonable weekend project if you’re comfortable with a miter saw and a level. Where most DIY installs run into trouble is exactly where this guide has been pointing: layout math across a full room, any corner that needs to be miter-folded rather than trimmed, and MDF backing work, which requires its own fastening and seaming approach. That’s the point where most homeowners we talk to decide to hand the job off — not because they can’t learn it, but because the payoff for getting the corners and layout right is a lot higher than the cost of getting them wrong.
The Holland & Sons Angle
The 12-foot nickel-gap stock for Ballast Rd. came from a single supplier, and it didn’t show up on schedule. A partial shipment landed first, and the rest of the order ran about a week behind. That’s the kind of setback that either derails a job or gets absorbed, depending entirely on whether anyone planned for it.
Brian handled the supplier calls himself and kept the homeowner informed the whole way through, which is the less visible half of running a job like this. His older son was on the material side of that conversation — learning to track lead times and flag risk before a delivery date, not just after a truck doesn’t show up. That’s a skill that has nothing to do with a miter saw and everything to do with keeping a job on schedule.
Related Resources — Nickel-Gap Paneling Guide
This post is part of a full guide to nickel-gap paneling in the Inland Empire. Here’s the rest of the cluster:
How Much Does Nickel-Gap Paneling Cost in Menifee, CA? — real per-linear-foot and per-room pricing from an actual Menifee project.
Nickel-Gap Paneling vs. Shiplap: Which Is Right for Your Menifee Home? — a straight answer on the most-confused comparison in wall paneling.
Best Materials for Nickel-Gap Paneling in Menifee, CA — MDF vs. paint-grade pine vs. solid hardwood, and when each makes sense.
How to Evaluate a Wall Paneling Contractor in the Inland Empire — the questions that separate a real millwork contractor from a handyman with a nail gun.
Can You Panel a Kitchen Island? Wainscoting Over MDF Backing Explained — the same backed-vs-applied decision, scaled down to a single island.
Frequently Asked Questions
What are the most common mistakes when installing nickel-gap paneling?
The most common mistake is installing wall by wall without planning the full run’s board layout first, which leaves an uneven sliver of a board at one end of the wall. Close behind: skipping acclimation time, ignoring moisture in wet-adjacent rooms, and treating outlets and corners as afterthoughts instead of planning them into the layout before the first board goes up.
Does nickel-gap paneling work in bathrooms or high-humidity rooms?
Standard paint-grade MDF nickel-gap isn’t a good fit for sustained-moisture spaces like bathrooms and laundry rooms — it can swell if water gets behind the surface. Moisture-resistant MDF or solid wood with fully sealed edges performs better in those rooms, paired with real ventilation. For dry living spaces, standard material is the right call.
How do you handle outlets and switches when installing paneling?
Outlet and switch locations get planned into the board layout before installation starts, not routed around afterward. That often means adding a box spacer so the cover plate sits flush with the new wall thickness, especially over MDF backing. Skipping this step is a common reason a finished wall looks unfinished right where fixtures are.
Can nickel-gap paneling warp or swell?
Yes — MDF versions can swell if exposed to moisture, and even solid wood versions move seasonally. Both risks are highest when boards are installed without acclimating to the room first. Letting material sit in the space for several days before installation is the single best prevention step.
Do you need to let paneling acclimate before installing?
Yes. Bringing the boards into the installation room and letting them sit for several days lets the material adjust to actual room temperature and humidity before it’s fastened in place. Skipping acclimation is one of the fastest ways to end up with gaps opening between boards months after the job is done.
How long does nickel-gap paneling take to install?
A single accent wall can be done in a day or two. A full-scope job — paneling an entire downstairs with every corner miter-folded — took 14 days on site on our Ballast Rd. project, following 2 days of shop fabrication. Specialty material lead times can add to the timeline if long-length stock comes from a single supplier.
Can I install nickel-gap paneling myself?
For a single accent wall with simple corners and no MDF backing, many capable homeowners do it themselves as a weekend project. Where DIY installs typically run into trouble is layout math across a full room, any corner that needs to be miter-folded, and backing work — that’s usually the point where homeowners decide to hand the job to a licensed contractor.
What happens if specialty paneling material is delayed?
On a whole-room or whole-house scope, long-length material sometimes comes from a single regional supplier, and a partial or delayed shipment can push the schedule by a week or more. Confirming lead times and locking in material before the crew starts is the best prevention — and a contractor should communicate any delay to you as soon as it’s known.
Plan It Right the First Time
If you’re weighing a paneling project in Menifee, Murrieta, Temecula, Perris, Riverside, or anywhere in the Inland Empire and want to avoid the mistakes above, let’s talk it through before you buy material. Start at hsconstruct.com/contact and tell us about the space. Brian and his sons will walk you through layout, corner treatment, and timeline during the design phase — no surprises, no pressure.
Follow our work and see more transformations on our social channels.
951-338-8058 | brian@hsconstruct.com | hsconstruct.com | CSLB #1123738
More Than Just Nickel-Gap Paneling
A whole-downstairs paneling job like Ballast Rd. is one chapter in a much longer story. Brian has been a finish carpenter since 1991, and his sons now build alongside him, which means every room in your home is fair game.
If your space needs more than that, here's what else we build:
-
Kitchen and bathroom remodels — full custom cabinetry, tile work, and finish carpentry from demo to done
-
Coffered ceilings — grid beam systems that add architectural depth to any room, sized and proportioned to the space
-
Wainscoting and wall paneling — classic raised panel, flat panel, board-and-batten, and shiplap applications
-
Reclaimed wood accents — feature walls, fireplace surrounds, and detail work using salvaged material with real character
-
Beam wraps — hollow wood wraps that give exposed beams the look of solid timber without the structural engineering
-
Crown molding, baseboards, and trim carpentry — the details that make a house feel finished, from a single room to a whole home
-
Cased openings and interior door replacements — clean transitions between spaces that most contractors overlook
-
Custom built-in entertainment walls and bookshelves — designed by hand, built in the shop, installed to last
Wood, proportion, and rooms that feel right — that's what we do.
This guide is part of our wainscoting & paneling series.
Learn more about Wainscoting & PanelingHave a project in mind? Let's start a conversation.
Tell us what you are thinking about and we will give you a straight answer about scope, timeline, and investment.
Start a Conversation