How to Choose a Custom Wainscoting Contractor in the Inland Empire: The Scorecard That Separates Craft from Guesswork
Quick Answer
A wainscoting contractor in Menifee, Murrieta, or Temecula should be able to tell you exactly how they determine panel height, whether they build in the shop or on site, what they use for joint prep, and what paint system they specify. If any of those answers are vague, the execution will be too. The four things that separate a craft installation from an adequate one are design process, fabrication method, joint prep standard, and paint accountability. You can evaluate all four before signing anything.
Key Takeaways
| Key Takeaways | Details |
| Most important differentiator | Design process — do they confirm height before cutting, or guess? |
| Shop-built vs. site-built | Shop-built panels produce more consistent joints and faster installation |
| Joint prep standard | Bondo and sand — not caulk. Ask directly. |
| Paint accountability | Will they catch and fix a sheen or joint issue before you have to ask? |
| Contractor scorecard included | Seven evaluation criteria with scoring rationale below |
What Excellent Looks Like
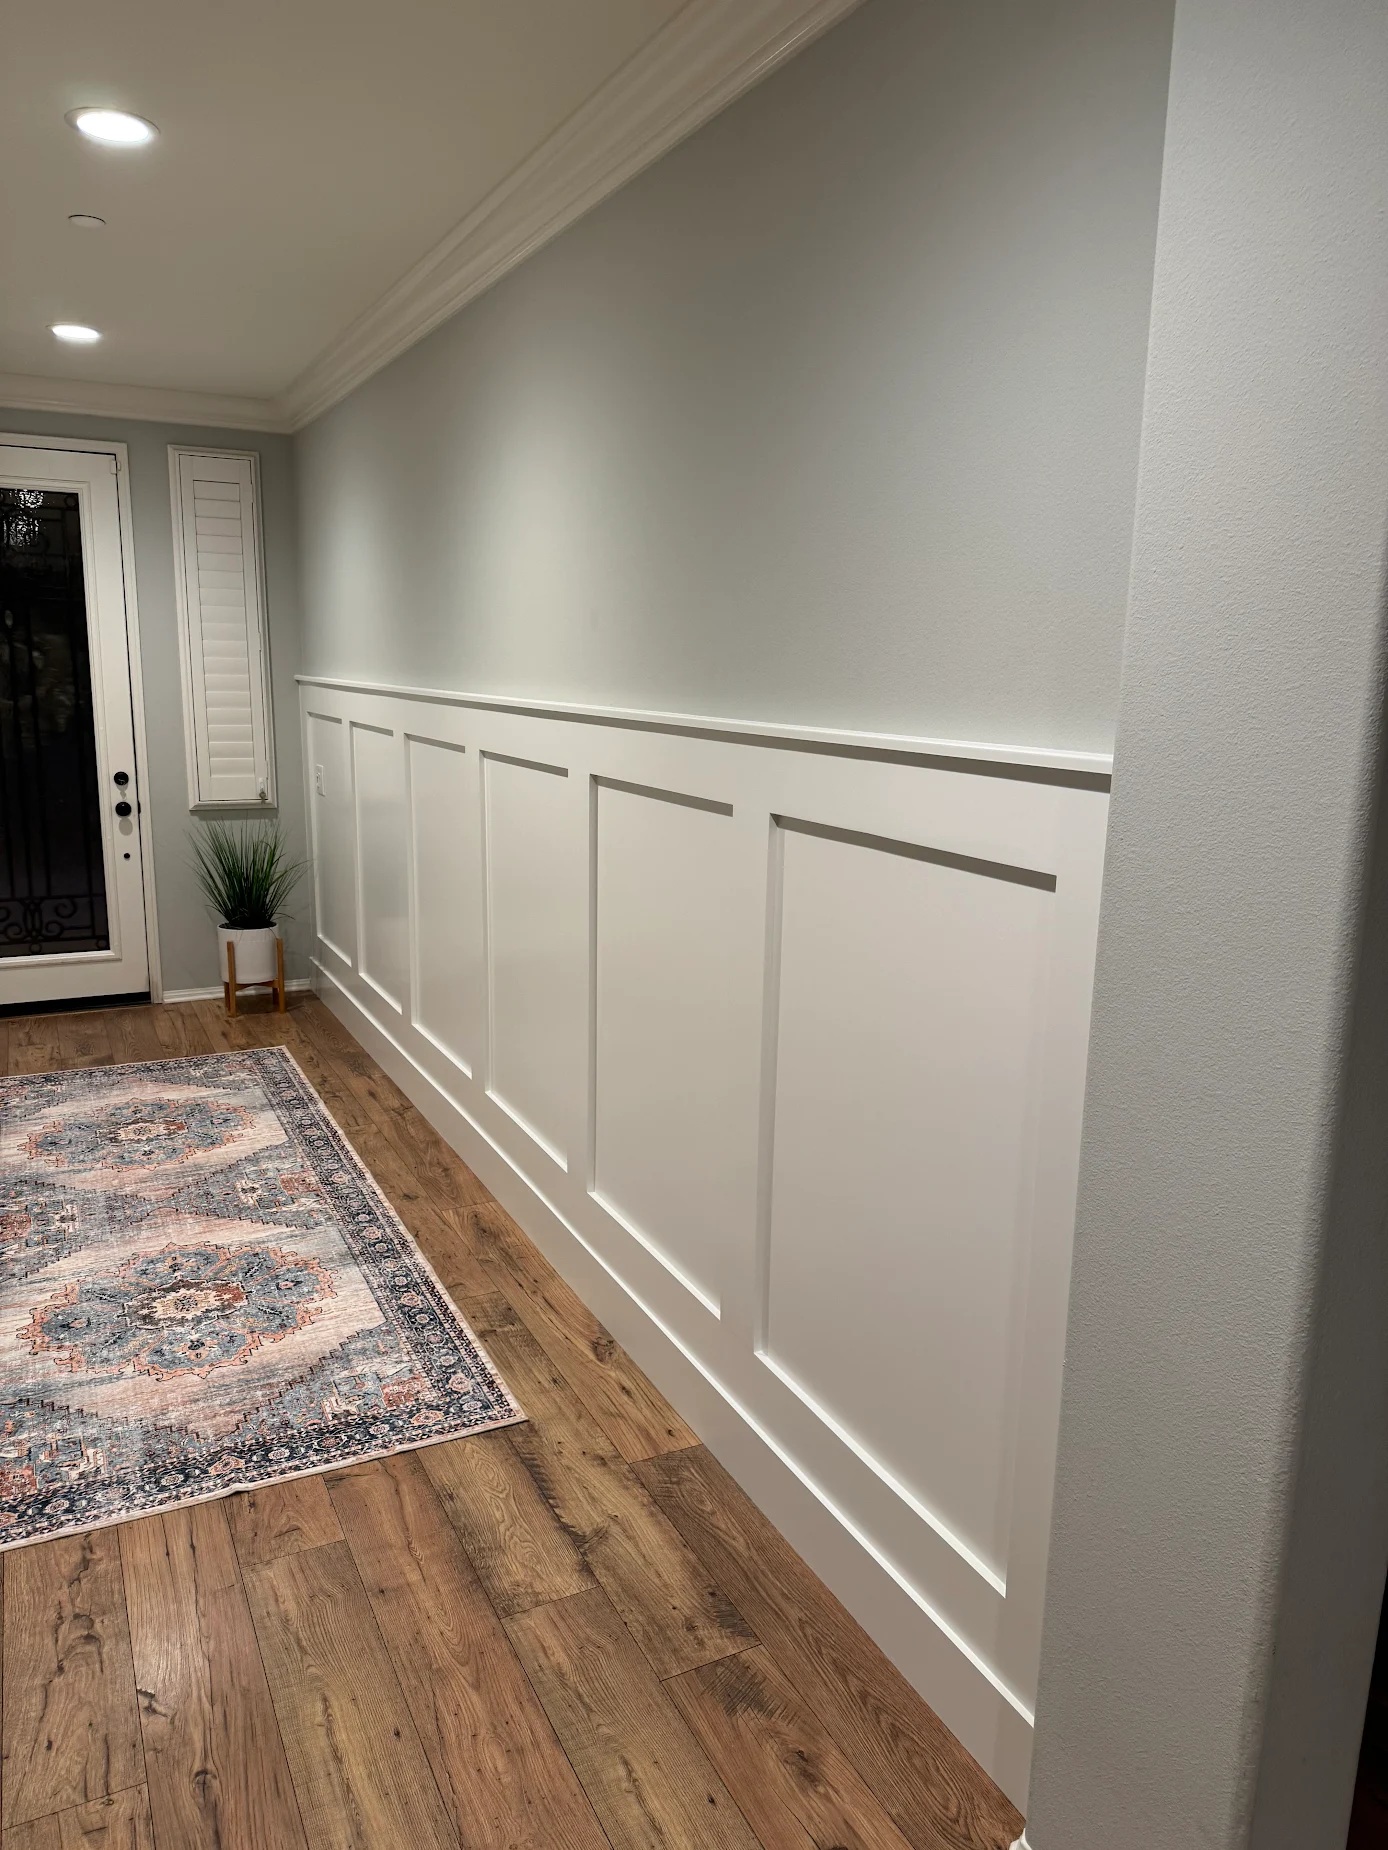
An excellent custom wainscoting installation has four qualities that are visible in the finished work before you ever ask about the process behind it.
First: proportion. The panel height feels right for the room — not too low, not too tall, not defaulted to a standard dimension. The panel spacing is even across the full wall and the last panel at every corner is not noticeably narrower than the others. This is the evidence of a layout worked out on paper before any cuts were made.
Second: joint quality. Under raking light — early morning sun through a sidelight, an angled lamp, a flashlight held at a low angle — you cannot see where one piece ends and another begins. Nail holes are invisible. Scarf joints on long runs are invisible. Rail-to-stile connections are flat and sharp. This is the evidence of Bondo fill and proper sanding.
Third: paint quality. The surface is flat and uniform under every light condition. The sheen is consistent across the full installation. There are no brush drag marks, no lap lines between paint passes, no sheen variation between panels. This is the evidence of a correctly applied paint system.
Fourth: terminations. Where the wainscoting ends at corners, column bases, door casings, and room transitions, the detail is clean. The raw edge of a rail is never visible from a normal viewing angle. Cap returns are mitered. Corner wraps are tight. This is the evidence of a contractor who thought through every condition before fabrication began.
What Adequate Looks Like — and Why It Is Not Enough
Adequate wainscoting looks fine from across the room in flat even light. It installs faster because the design phase is shorter and the prep standards are lower. The corners are close. The joints are filled — with caulk rather than Bondo, which means they are softer and slightly visible under raking light within a year. The panel height was set by the carpenter's preference or the standard dimension rather than confirmed in the room.
In the Inland Empire new-build market, adequate wainscoting in an entry hallway will not look bad on the day it is installed. It will look like a kit job within three years. The sun that floods a Menifee entry through south-facing sidelights does not forgive soft joint fills. The humidity cycles that come with summer heat and winter heating will work open the caulk fills that adequate prep left behind.
The investment difference between adequate and excellent is real. So is the result difference. This guide gives you the tools to evaluate which one you are buying before you sign.
The Wainscoting Contractor Scorecard
Score each contractor on the following criteria using the three-level rating. A score of 18-21 is excellent. 12-17 is adequate. Below 12 warrants serious concern.
| Criterion | Score 3 — Excellent | Score 1 — Adequate / Concerning |
| 1. Design Process | Confirms panel height with laser and tape mock-up in the room before any drawings are finalized. Client reviews the layout before cuts are made. | Sets height by formula or standard dimension. No client review before fabrication begins. |
| 2. Scaled Drawings | Provides a fully dimensioned elevation drawing showing panel counts, spacing, rail and stile widths, and all termination conditions. | Sketches on a notepad or works from memory. No formal layout document provided. |
| 3. Fabrication Method | Shop-builds complete panel units as rigid assemblies. Panels arrive on site fully prepped and ready to set. | Stick-builds on site. Rails, stiles, and panels assembled in place. All prep and fill work done in the room. |
| 4. Material Specification | Names the specific species for rails and stiles, the panel infill material, and the paint product. Can explain why each was chosen. | Describes materials generically. Cannot confirm whether MDF edges will be sealed before water-based primer. |
| 5. Joint Prep Standard | Uses Bondo body filler at all joints. Sands flat before primer. Can describe the difference between Bondo and caulk and why it matters. | Uses latex caulk or spackle at joints. Cannot explain the difference or why it matters in a finished installation. |
| 6. Paint Process and Accountability | Specifies topcoat product, sheen, and application method. Has a clear answer for what happens if something does not look right after the first paint pass. | Subcontracts painting with no direct accountability for sheen or prep quality. No clear answer on remediation. |
| 7. References and Warranty | Can provide references from completed projects in the Inland Empire. Offers a written workmanship warranty. | References are unavailable or from outside the local market. No written warranty offered. |
Total possible: 21. Score your contractors on this framework before you choose.
What Should a Wainscoting Quote Include?
Use this as a checklist when reviewing proposals. Print it, bring it to your contractor meetings, and go through it line by line. A contractor who cannot answer these questions clearly is telling you something about their process.
Design and Planning
-
Does the quote include a full design phase — laser height confirmation, painters tape mock-up, client review?
-
Will you receive a scaled elevation drawing showing panel counts, spacing, and all dimensions before fabrication begins?
-
Are outlet and switch locations mapped and accounted for in the layout?
-
Are all corner and termination conditions called out in the drawings?
Fabrication and Materials
-
Are panels shop-built as rigid units or assembled on site?
-
What species are the rails and stiles? What is the panel field material?
-
How are MDF edges sealed before any water-based products are applied?
-
What adhesive and fastening system is used at rail-to-stile joints?
Joint Prep and Paint
-
What product is used to fill nail holes and joints — Bondo, spackle, or caulk?
-
What primer is specified, and is it applied before or after joint fill?
-
What topcoat product is specified? What sheen?
-
Who applies the paint — the carpenter or a subcontracted painter?
-
What is the process if a sheen or joint issue appears after the first paint pass?
Scope and Warranty
-
What is explicitly included and excluded in this investment?
-
What is the warranty on workmanship and for how long?
-
What does the timeline look like from design confirmation to final paint?
Questions to Ask a Contractor Before You Hire
These questions separate contractors who know the work from contractors who are guessing at it. Ask every one of them before signing anything.
-
How do you determine the right panel height for a room? Walk me through your process.
-
Do you build the panels in your shop or assemble them on site? What is the difference in the result?
-
What do you use to fill nail holes and joints? What is the difference between Bondo and caulk in a painted installation?
-
What primer do you use on MDF? How do you seal the edges before water-based products are applied?
-
What topcoat do you specify for painted wainscoting? What sheen, and why?
-
What happens if I see a joint or sheen problem after the first paint pass? Is remediation included in the scope?
-
Can I see a scaled drawing of the proposed layout before fabrication begins?
-
Can you provide references from completed wainscoting projects in the Inland Empire?
Red Flags to Watch For
-
The contractor cannot explain how panel height will be determined and defaults to 'standard height' or a dimension chosen without seeing the room.
-
No design phase is mentioned in the scope. Work begins with measurements and proceeds directly to fabrication without a layout review.
-
The contractor cannot name the topcoat product or sheen, or defers that decision to a subcontracted painter with no accountability structure.
-
When asked about joint prep, the answer is caulk or spackle with no mention of a rigid fill product.
-
The quote is significantly lower than comparable bids with no explanation of what is excluded. Lower investment almost always means lower prep standards, faster installation, or both.
-
References are unavailable, from out-of-market, or only for work different from what you are asking for.
-
No written warranty is offered or the warranty excludes finish quality.
-
The contractor cannot produce a sample of previous work or direct you to completed Inland Empire projects you can evaluate in person or in photos.
See This In Action — The Gypsy Canyon Project, Menifee, CA
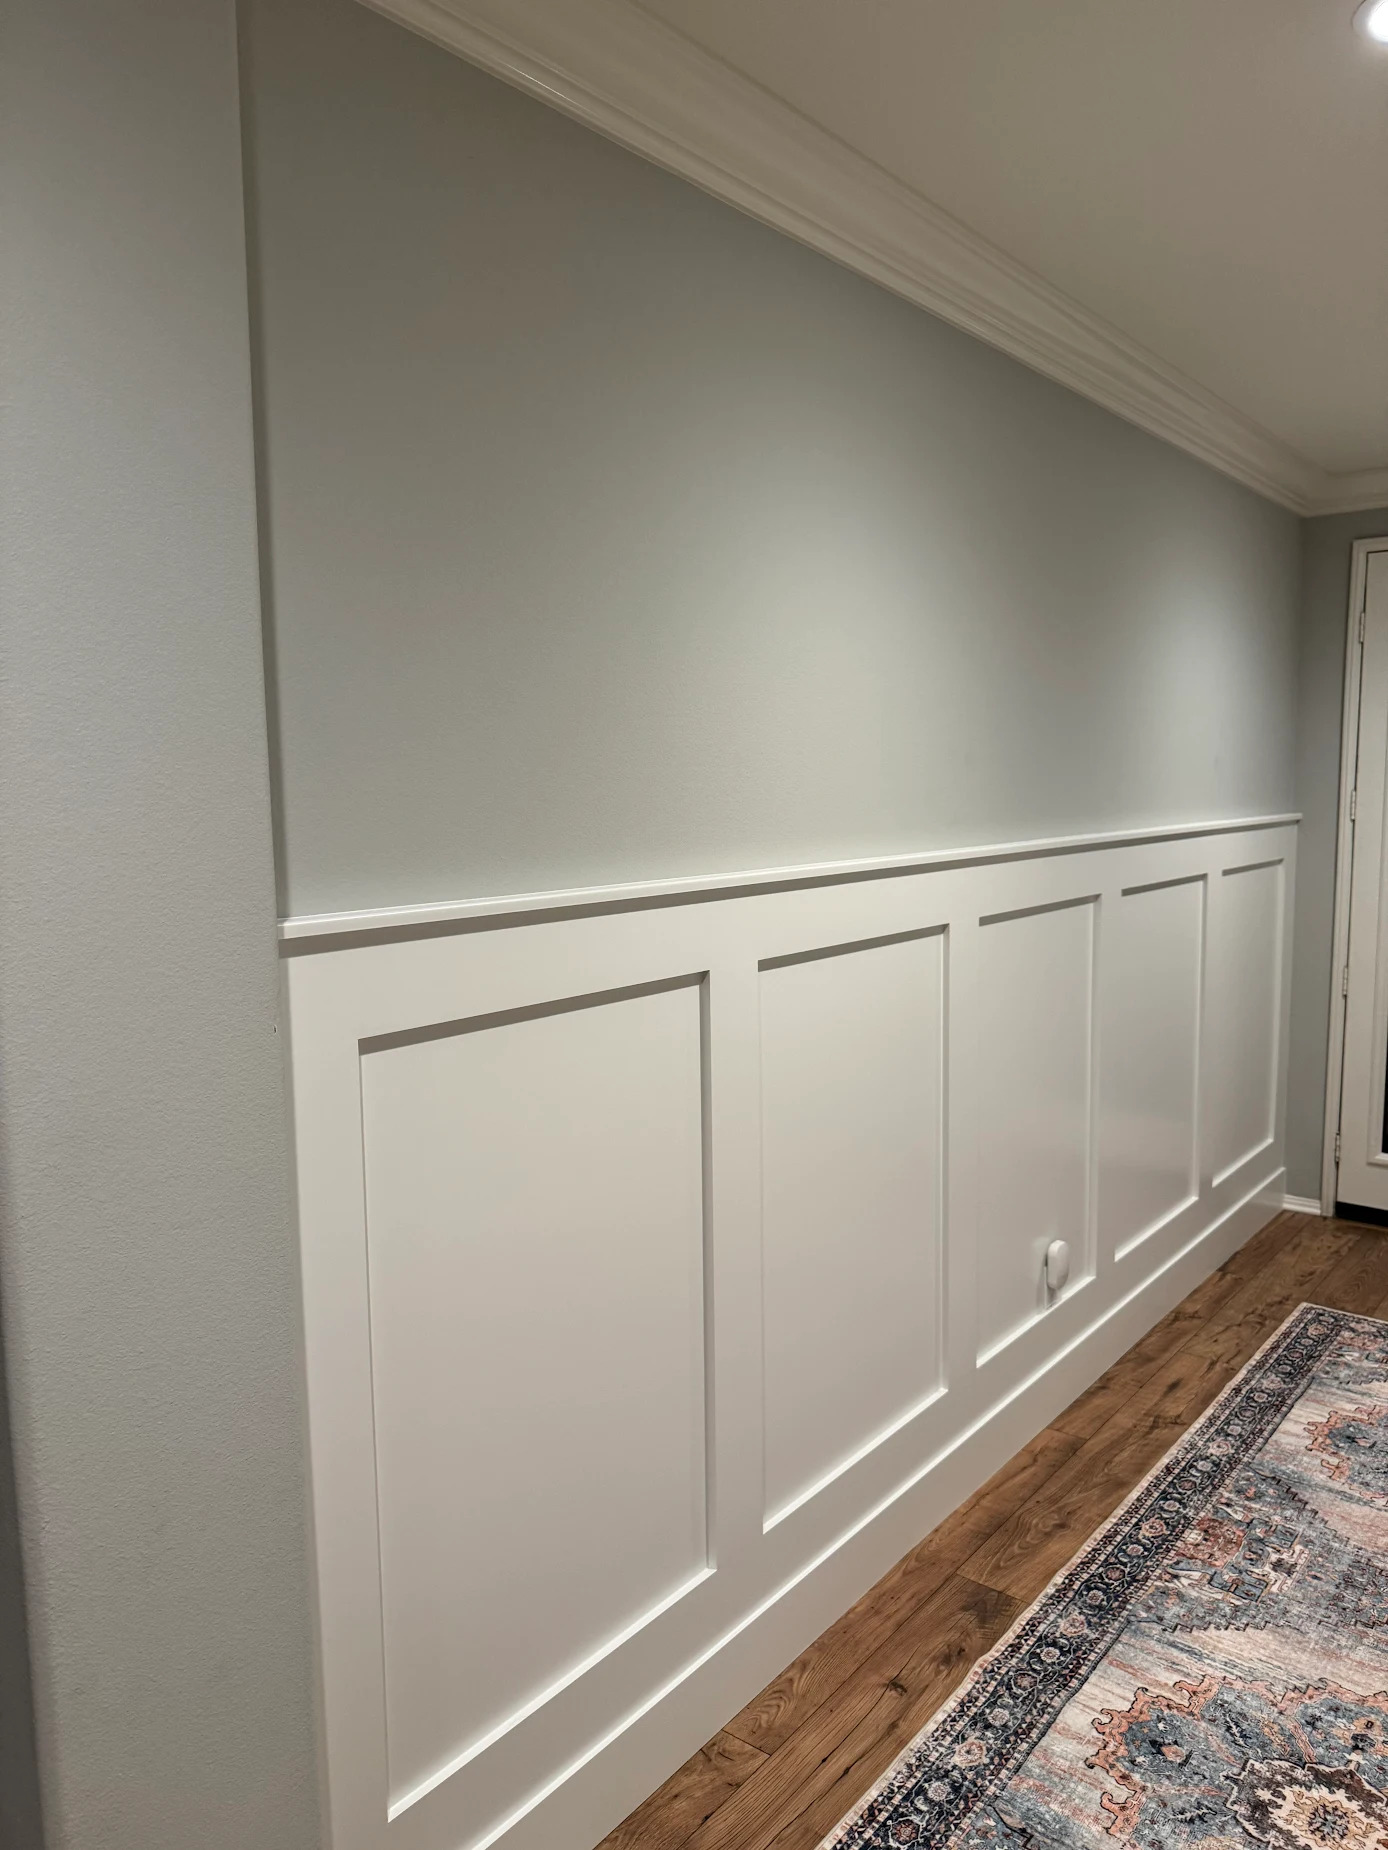
The Gypsy Canyon project in Audie Murphy Ranch demonstrates every criterion on the scorecard. Panel height confirmed at 55 inches through a three-option laser-and-tape process — not a formula. CAD-drawn elevation at scale before any cut was made. Shop-fabricated rigid panel units transported and set in one day. Bondo at every joint, sanded flat. Semi-gloss sheen caught after first paint pass and remediated proactively — before the homeowner had to ask.
Scorecard performance on this project:
-
Design process: 3 — laser, tape, client confirmation before drawings were finalized
-
Scaled drawings: 3 — CAD elevation at 1/2 inch = 1 foot, both walls fully dimensioned
-
Fabrication method: 3 — complete shop-built rigid units, transported and set on site
-
Material specification: 3 — pine rails and stiles, MDF panel fields, Emerald Urethane topcoat
-
Joint prep: 3 — Bondo at all connections, two rounds on scarf joints after sheen issue
-
Paint accountability: 3 — remediation initiated proactively, completed before client sign-off
-
References and warranty: 3 — completed Inland Empire project portfolio, 10-year workmanship warranty
See it here: Full project breakdown — photos, investment, construction details, and the complete process
Holland & Sons Angle
Thirty-four linear feet of entry wainscoting requires roughly 80 individual cuts across rails, stiles, panel fields, cap, and baseboard — not counting the scarf joints that add four more on the long wall. Every one of those cuts is dimensioned on paper before the saw runs. That is not a speed play. It is how you end up with 23.75-inch panel spacing across 210 inches of wall with no awkward narrow panel at the corner. Brian's sons make those cuts alongside him. The discipline is in the measurement, not the tool — and that is what the apprenticeship is built to transfer.
Frequently Asked Questions
How do I find a good wainscoting contractor in the Inland Empire?
Ask for completed project photos from Inland Empire homes specifically — not stock images or projects from other markets. Ask the contractor to walk you through their design process before you discuss investment. A contractor who can describe laser height confirmation, scaled drawings, and shop fabrication before you ask about those things is telling you that those are standard practice, not upsells.
What questions should I ask a carpenter before hiring them for wainscoting?
Ask how they determine panel height, whether they shop-build or site-build, what product they use for joint fill, what topcoat they specify and in what sheen, and what their process is if a finish issue appears after the first paint pass. Those five questions will tell you more about the quality of the finished installation than any amount of marketing material.
What should a wainscoting quote include?
A complete wainscoting quote should include a design phase with client review before fabrication, scaled drawings, material specification by product and species, joint prep method, topcoat product and sheen, timeline, and a clear description of what is included and excluded. Any quote that omits these items is either pricing a lower standard of work or expecting to resolve those questions later — which means resolving them at your expense.
How do I know if a contractor does quality wainscoting work?
Evaluate the finished work under raking light — low-angle light that crosses the panel surface. Joint lines visible under raking light are a joint prep failure. Panel spacing that is uneven or ends with a noticeably narrower piece at a corner is a layout failure. Sheen inconsistency between panels is a paint application failure. All three are visible if you look. A contractor who invites you to look is confident the work will hold up to the evaluation.
Is the cheapest wainscoting quote the best value?
Not in the Inland Empire new-build market. The lowest quote is almost always a site-build installation with caulk fill, a subcontracted paint process with no accountability structure, and no formal design phase. That installation will look fine at move-in and show its limitations within three years as the sun and humidity cycles work on the joints. The investment gap between adequate and excellent is smaller than the gap between an adequate result and a custom one.
What is a wainscoting workmanship warranty?
A workmanship warranty covers defects in the installation itself — joint failures, paint delamination, panel movement that results from improper installation. It does not cover normal wear, damage from water exposure, or homeowner-applied modifications. A 10-year workmanship warranty from a licensed California contractor is the appropriate standard for a custom shop-built installation.
How long does a wainscoting project take from quote to completion?
A standard 25 to 40 linear foot entry hallway project runs approximately one to two weeks from scope confirmation to final paint, including the design phase, shop fabrication, installation, and paint. The design phase typically takes a few days to complete to client satisfaction — panel height confirmation, drawing review, and final approval. Shop fabrication runs one to two days. Installation is one day. Paint is one day with a cure interval between coats.
Ready to Talk About Your Project?
Fill out the contact form at hsconstruct.com/contact, describe your project, and upload any inspiration photos you have. Brian will come out, take measurements, walk you through the design process, and put together a scope and investment range.
Holland & Sons serves Menifee, Murrieta, Temecula, Perris, Riverside, and the greater Inland Empire.
Find us on Facebook and Instagram for project photos from recent Inland Empire installations.
951-338-8058 | brian@hsconstruct.com | hsconstruct.com | CSLB #1123738
More Than Just Wainscoting
Wainscoting is one of the most satisfying projects we do — the before and after is immediate and impossible to miss. But it is one chapter in a much longer story. Brian and his sons have been finish carpenters since 1991, which means every room in your home is fair game.
If your space needs more than wainscoting, here is what else we build:
-
Kitchen and bathroom remodels — full custom cabinetry, tile work, and finish carpentry from demo to done
-
Coffered ceilings — grid beam systems that add architectural depth to any room, sized and proportioned to the space
-
Wainscoting and wall paneling — classic raised panel, flat panel, board-and-batten, and shiplap applications
-
Reclaimed wood accents — feature walls, fireplace surrounds, and detail work using salvaged material with real character
-
Beam wraps — hollow wood wraps that give exposed beams the look of solid timber without the structural engineering
-
Crown molding, baseboards, and trim carpentry — the details that make a house feel finished, from a single room to a whole home
-
Cased openings and interior door replacements — clean transitions between spaces that most contractors overlook
-
Custom built-in entertainment walls and bookshelves — designed by hand, built in the shop, installed to last
Wood, proportion, and rooms that feel right — that is what we do.
About the Author
Brian Holland is the owner and lead carpenter of Holland & Sons Construction, a family-run finish carpentry and general contracting company serving Riverside County and the Inland Empire since 1991. He entered the trade at 17, learned on the job, and has spent 35 years building the kind of work that makes rooms feel right — often before a homeowner can articulate why. His sons now apprentice alongside him on every project. Holland & Sons is based in Perris, CA and licensed by the CSLB (#1123738).
Related project
This guide is part of our wainscoting & paneling series.
Learn more about Wainscoting & PanelingHave a project in mind? Let's start a conversation.
Tell us what you are thinking about and we will give you a straight answer about scope, timeline, and investment.
Start a Conversation