
Can You Panel a Kitchen Island? Wainscoting Over MDF Backing Explained
Quick Answer
Yes — you can panel or wainscot a plain builder-grade kitchen island, and it’s one of the highest-impact upgrades available in a Menifee or Inland Empire tract home. The question that actually matters isn’t which style to choose, it’s whether the trim gets backed with a flat substrate first or applied directly to the island’s existing textured surface. Backing is what separates an island that reads as custom millwork from one that reads as trim glued onto a box — the style choice is secondary to that decision.
Key Takeaways
-
Backing the field before applying trim is the decision that matters most — more than style.
-
Applied trim straight over a textured builder-grade island will show that texture through the paint.
-
Shaker, beadboard, and raised panel are the three most common island wainscoting styles.
-
We backed our island wainscoting with MDF on the Ballast Rd. project — the one design call we made on a homeowner-designed job.
Yes, you can panel a kitchen island — and backing it with MDF before the trim goes on is the decision that determines whether it looks custom or looks like a weekend project. Most DIY tutorials skip this step entirely: they show trim applied straight to the island’s existing surface, which works fine for a rustic, hand-built look but leaves the builder-grade texture showing between the rails once it’s painted.
We just finished a project with exactly this detail, and it's the single design call we made on a job the homeowner designed herself. Here's when backing is worth it, and how to think through the style options.
Can You Panel a Kitchen Island?
Yes. A plain, painted builder-grade island box is one of the easiest high-impact upgrades in a new-build kitchen — it doesn’t require touching plumbing, electrical, or the countertop, and it transforms the single piece of furniture most people look at first when they walk into an open-concept kitchen. The real decision isn’t whether you can do it. It’s whether the field gets backed first.
When Is Applied Trim Enough?
Applying trim directly to an existing island surface is a legitimate, budget-friendly approach — plenty of DIY projects do exactly this and get a good result. It works best when the island’s existing surface is already reasonably flat and smooth, when the design goal leans rustic or hand-built rather than furniture-grade polished, and when budget is the primary constraint. The tradeoff is real: any texture on the existing surface will show through the paint once the trim is up, especially under kitchen lighting.
When Should You Back the Island with MDF?
Backing the field with MDF before applying trim is worth it whenever the island is a focal point — which, on an open-concept kitchen, it almost always is — and whenever a homeowner wants a true furniture-grade, dead-flat paint finish rather than a rustic applied-trim look. It costs more in material and labor, and it takes longer, because you’re adding a full substrate layer before the trim work even starts. It’s also the difference between trim stuck on a wall and real, finished millwork.
Backed vs. Applied: Decision Table
| Factor | Applied Trim (Direct to Surface) | MDF-Backed Field |
| Paint finish quality | Builder-grade texture can show through paint | Dead-flat, furniture-grade paint surface |
| Investment | Lower — material and labor for trim only | Higher — adds a full substrate layer before trim |
| Best design intent | Rustic, hand-built, budget-conscious look | Custom, furniture-grade, focal-point island |
| Timeline | Faster — one layer of work | Slower — backing installed and finished before trim |
| Where we’d recommend it | Secondary islands, budget-first projects | Open-concept kitchens where the island is the centerpiece |
Kitchen Island Wainscoting Style Matrix
| Style | Look | Complexity | Best For |
| Shaker / Flat Panel | Clean, structured, minimal | Moderate — precise reveals and flat panels | Modern and transitional kitchens |
| Beadboard | Traditional, cottage, soft | Lower — more forgiving install | Farmhouse, coastal, cottage-style kitchens |
| Raised Panel | Formal, dimensional, detailed | Higher — most labor-intensive of the three | Traditional kitchens, formal spaces |
| Vertical Nickel-Gap / Wainscoting | Clean, contemporary, linear | Moderate — layout precision matters | Open-concept modern kitchens, matching whole-room paneling |
The Secondary PAA Questions — Addressed in Full
Can you put wainscoting on a kitchen island?
Yes — it’s one of the most straightforward high-impact upgrades available for a plain builder-grade island. The install doesn’t require touching plumbing, electrical, or countertops, and the visual difference is significant since the island is usually the first thing people notice in an open kitchen.
How much does it cost to add trim or paneling to a kitchen island?
Kitchen island paneling generally runs less than a full-room wall treatment simply because the surface area is smaller, but the same per-linear-foot logic applies — see our full cost breakdown for the range between applied trim and fully backed custom work. On our Ballast Rd. project, the entire island wainscoting package, including MDF backing, ran $4,200 as part of a larger project scope.
What’s the best wainscoting style for a kitchen island — shaker, beadboard, or raised panel?
Shaker and flat-panel styles suit modern and transitional kitchens, beadboard fits farmhouse and cottage styles, and raised panel suits more traditional, formal spaces. There’s no universally "best" style — match it to your cabinetry and trim, the same way you’d match wall paneling to your home’s overall character.
Do you need to back paneling with MDF before applying it to an island?
Not always, but you should whenever the island is a focal point and you want a furniture-grade painted finish. Skipping the backing on a textured builder-grade island means that texture will show between the rails and stiles once painted — the panel field never quite paints out clean without it.
Can I DIY kitchen island trim myself?
For applied trim on a reasonably flat existing surface, many capable homeowners take this on themselves successfully. Backing the field with MDF first is a more involved step — it requires its own fastening, seaming, and prep work before the trim ever goes on — which is where most DIYers we talk to decide the payoff is worth bringing in a professional.
What Should Not Be Done on a Textured Builder-Grade Island
-
Gluing trim directly onto heavily textured drywall or MDF cabinet skin and expecting a clean paint line — the texture will telegraph through
-
Skipping a mockup or dry-fit of the panel layout before committing to reveals and spacing
-
Ignoring the countertop overhang and appliance clearances when planning panel height and trim depth
-
Painting before caulking every seam — an uncaulked seam on an island gets far more daily wear than a wall
The Decision Framework
If your island already has a smooth, low-texture surface and you’re after a rustic or budget-friendly look, applied trim is a reasonable, honest choice. If your island anchors an open-concept kitchen that guests see from the front door, and you want it to read as genuine custom millwork rather than a dressed-up box, back it with MDF first. The extra cost buys a paint finish that photographs — and holds up — completely differently.
See This In Action — Ballast Rd.
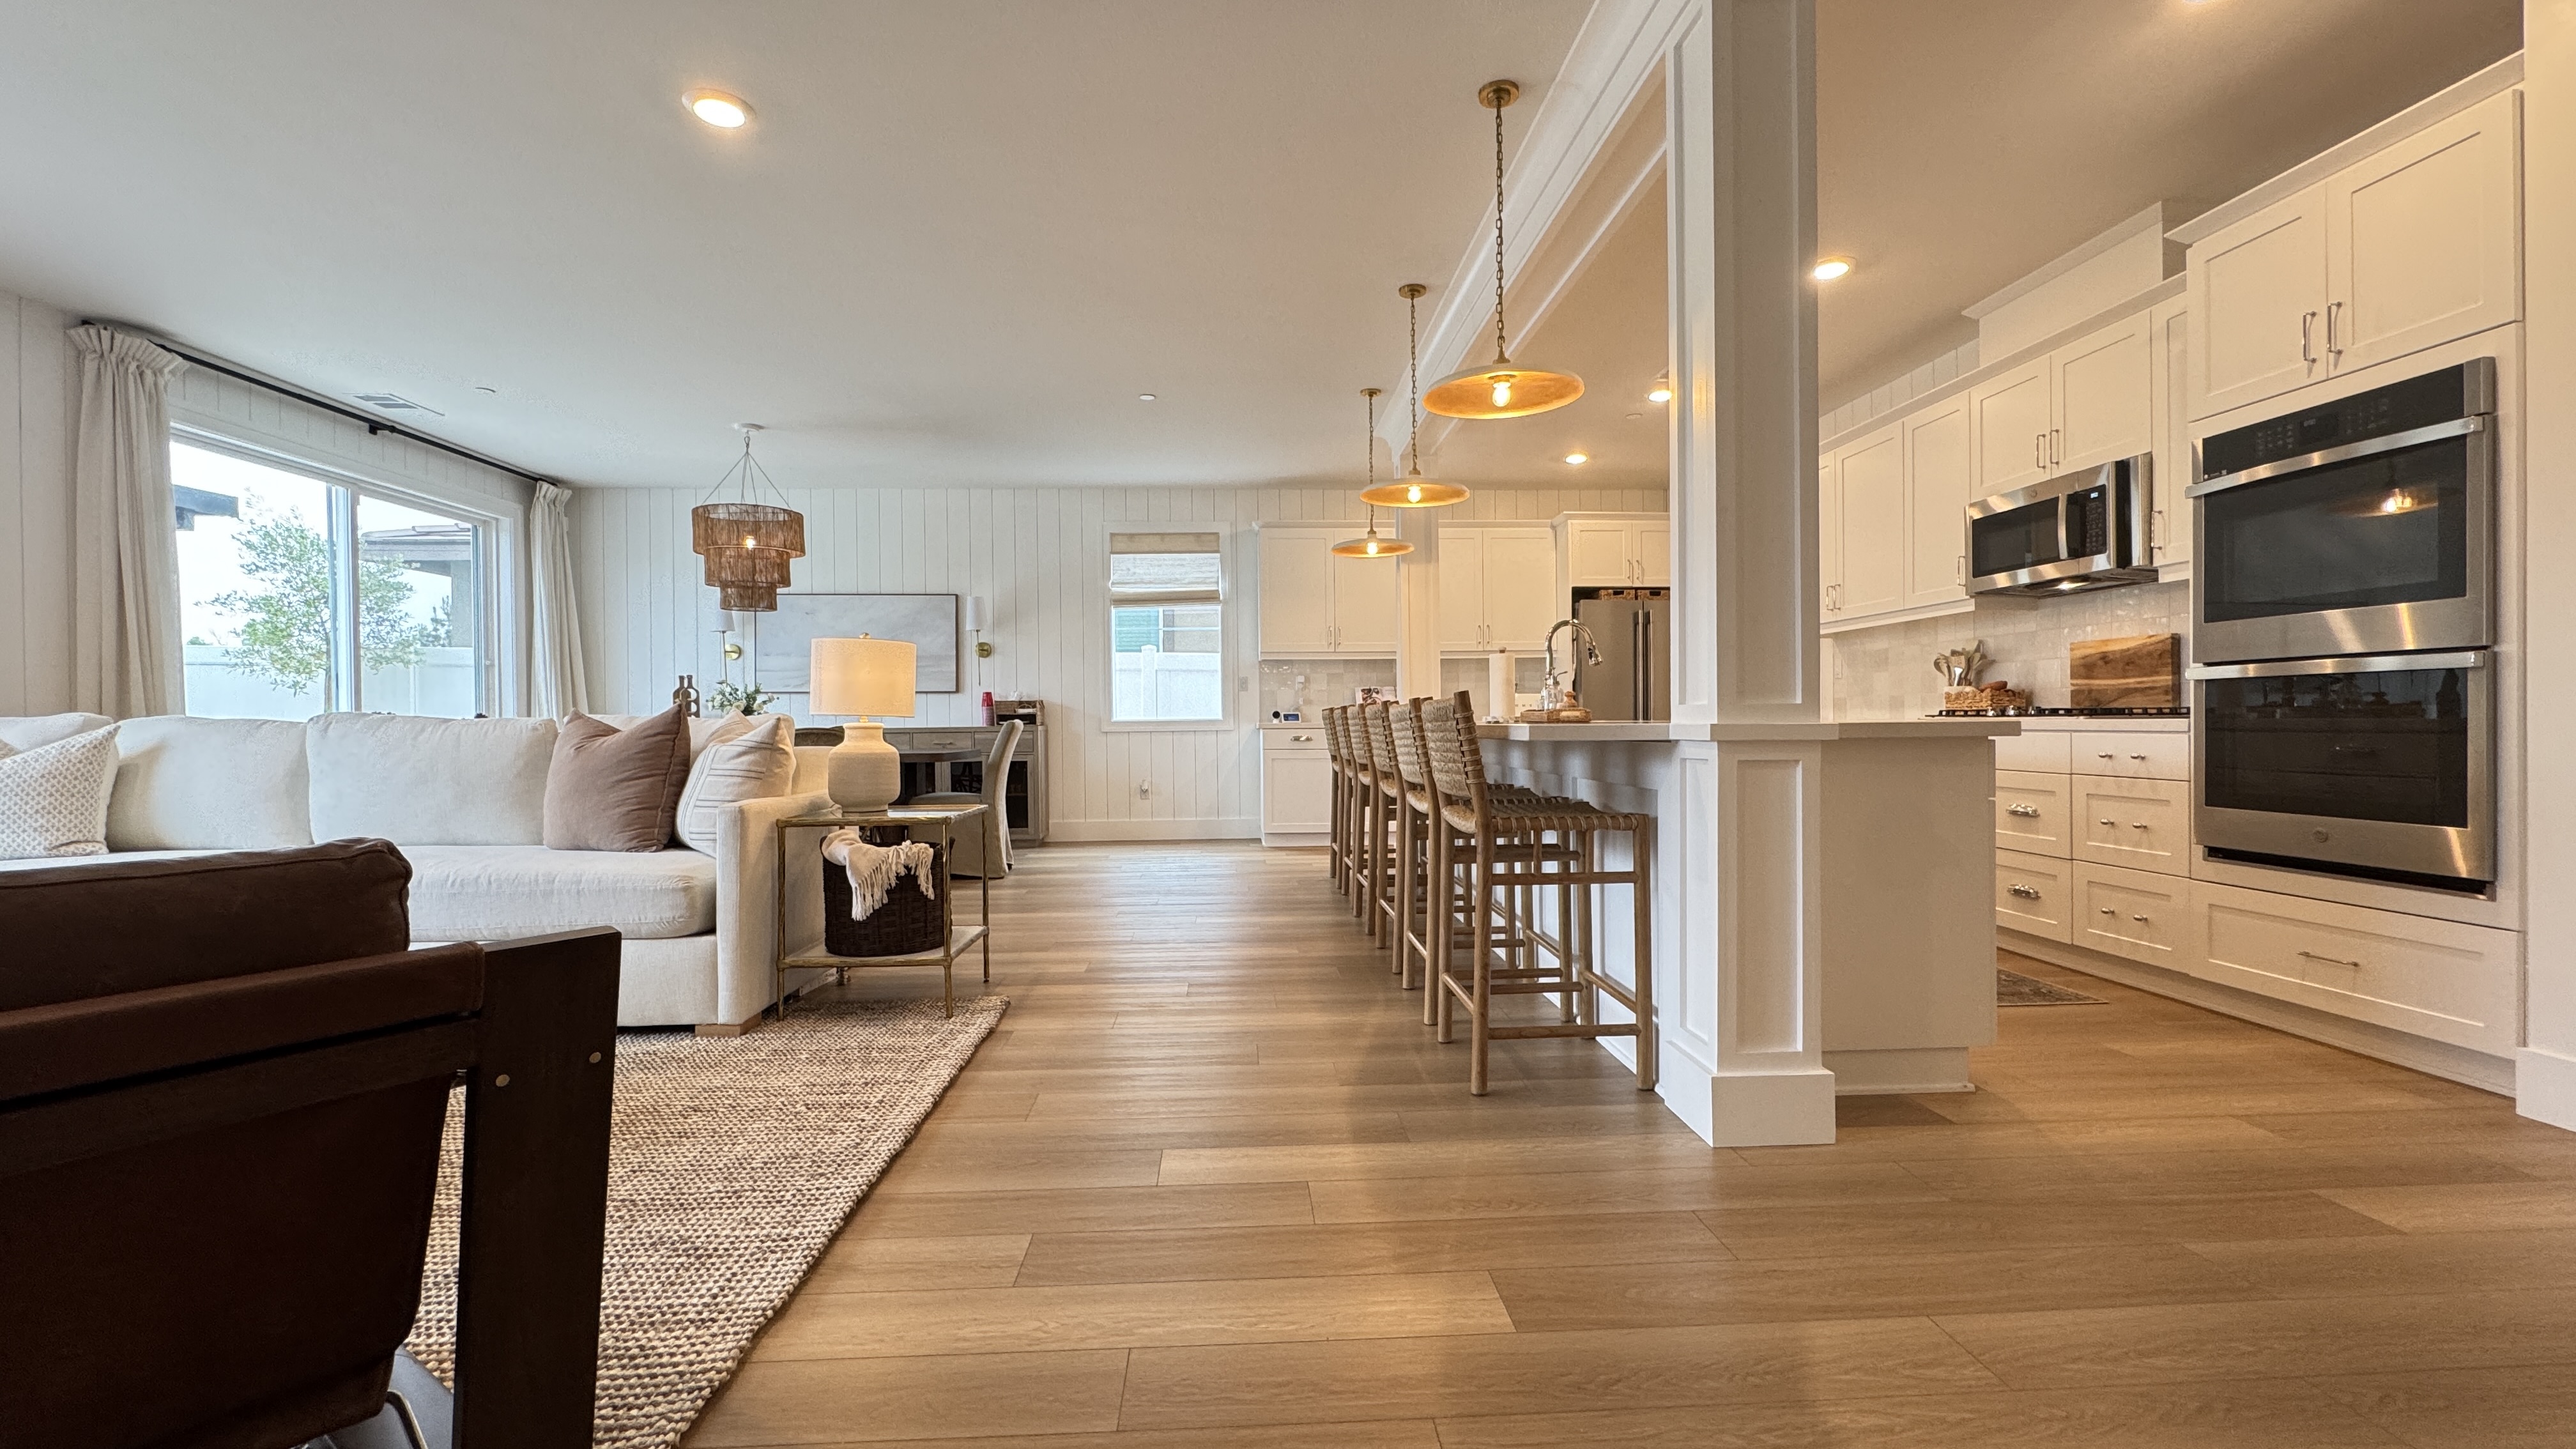
On this project’s kitchen island, we backed the entire WindsorONE wainscoting field with MDF before applying any trim. That gave us a dead-flat surface, a perfect paint base, and full coverage of the builder-grade texture underneath. It cost more and took longer than applying the trim straight to the island — and it’s the difference between trim stuck on a wall and real, finished millwork.
What we used on this island:
-
WindsorONE pre-primed pine wainscoting, applied over a full MDF backing
-
Crisp, flat panel fields with clean reveals
-
Three brass pendants overhead to finish the look
The Holland & Sons Angle
This was the one call we made on a job the homeowner designed herself, top to bottom. Most crews would take pre-primed wainscoting and apply it straight onto the island’s textured builder wall — it looks fine from across the room, but you can see the texture between the rails and stiles up close, and the panel field never quite paints out clean. We backed the entire field with MDF first instead. It costs more and it takes longer. It’s also the difference between trim stuck on a wall and real millwork.
That’s exactly the kind of decision Brian’s sons are learning to make on their own now — not the part you can see in a finished photo, but the invisible call underneath it that makes the visible work look right. On this job, his younger son helped prep and prime the MDF backing before the wainscoting ever went on, learning firsthand why that unglamorous step is the one that makes the whole island work.
Related Resources — Nickel-Gap Paneling Guide
This post is part of a full guide to nickel-gap paneling in the Inland Empire. Here’s the rest of the cluster:
How Much Does Nickel-Gap Paneling Cost in Menifee, CA? — real per-linear-foot and per-room pricing from an actual Menifee project.
Nickel-Gap Paneling Mistakes: What to Know Before You Panel Your Walls — the failure modes to plan around before you start.
Nickel-Gap Paneling vs. Shiplap: Which Is Right for Your Menifee Home? — a straight answer on the most-confused comparison in wall paneling.
Best Materials for Nickel-Gap Paneling in Menifee, CA — MDF vs. paint-grade pine vs. solid hardwood, and when each makes sense.
How to Evaluate a Wall Paneling Contractor in the Inland Empire — the questions that separate a real millwork contractor from a handyman with a nail gun.
Frequently Asked Questions
Can you put wainscoting on a kitchen island?
Yes — it’s one of the highest-impact upgrades available for a plain builder-grade island. It doesn’t require touching plumbing, electrical, or the countertop, and since the island is usually the focal point of an open kitchen, the visual payoff is significant relative to the scope of work.
How much does it cost to add trim or paneling to a kitchen island?
Island paneling generally costs less than a full-room wall treatment because of the smaller surface area, but the same per-linear-foot logic applies as any nickel-gap or wainscoting project. On our Ballast Rd. project, the complete island wainscoting package with MDF backing ran $4,200 as part of a larger scope.
What’s the best wainscoting style for a kitchen island — shaker, beadboard, or raised panel?
Shaker and flat-panel styles suit modern and transitional kitchens, beadboard fits farmhouse and cottage styles, and raised panel suits more traditional, formal kitchens. Match the style to your cabinetry and trim rather than choosing based on trend alone.
Do you need to back paneling with MDF before applying it to an island?
Not in every case, but you should whenever the island is a focal point and you want a furniture-grade painted finish. Skipping the backing on a textured builder-grade island means that texture shows through the paint between the rails and stiles.
Can I DIY kitchen island trim myself?
Applied trim on a reasonably flat existing surface is achievable for many capable homeowners. Backing the field with MDF first is more involved — it has its own fastening and seaming requirements — which is usually where DIYers decide to bring in a professional.
Can I just glue trim straight onto my island without backing it?
You can, and it’s a legitimate budget approach for a rustic or hand-built look. The tradeoff is that any texture on the island’s existing surface will show through the paint once the trim is up. If you want a true furniture-grade, dead-flat finish, backing the field with MDF first is the step that gets you there.
What did Holland & Sons do differently on the Ballast Rd. kitchen island?
We backed the entire WindsorONE wainscoting field with MDF before applying any trim, rather than installing it straight onto the island’s existing textured surface. That gave the finished island a dead-flat, high-end paint surface instead of trim that reads as applied on top of a builder-grade box.
Ready to Upgrade Your Island?
If you’ve got a plain builder-grade island in Menifee, Murrieta, Temecula, Perris, Riverside, or anywhere in the Inland Empire and you want it to read custom, let’s talk. Start at hsconstruct.com/contact and share a few photos of your kitchen. Brian and his sons will walk you through whether backing makes sense for your island and which style fits your space.
Follow our work and see more transformations on our social channels.
951-338-8058 | brian@hsconstruct.com | hsconstruct.com | CSLB #1123738
More Than Just Kitchen Island Paneling
A backed, wainscoted island like Ballast Rd. is one small chapter in a much longer story. Brian and his sons have been finish carpenters since 1991, which means every room in your home is fair game.
If your space needs more than that, here's what else we build:
-
Kitchen and bathroom remodels — full custom cabinetry, tile work, and finish carpentry from demo to done
-
Coffered ceilings — grid beam systems that add architectural depth to any room, sized and proportioned to the space
-
Wainscoting and wall paneling — classic raised panel, flat panel, board-and-batten, and shiplap applications
-
Reclaimed wood accents — feature walls, fireplace surrounds, and detail work using salvaged material with real character
-
Beam wraps — hollow wood wraps that give exposed beams the look of solid timber without the structural engineering
-
Crown molding, baseboards, and trim carpentry — the details that make a house feel finished, from a single room to a whole home
-
Cased openings and interior door replacements — clean transitions between spaces that most contractors overlook
-
Custom built-in entertainment walls and bookshelves — designed by hand, built in the shop, installed to last
Wood, proportion, and rooms that feel right — that's what we do.
About the Author
Brian Holland is the owner and lead carpenter of Holland & Sons Construction, a family-run finish carpentry and general contracting company serving Riverside County and the Inland Empire since 1991. He entered the trade at 17, learned on the job, and has spent 35 years building the kind of work that makes rooms feel right — often before a homeowner can articulate why. His sons now apprentice alongside him on every project. Holland & Sons is based in Perris, CA and licensed by the CSLB (#1123738).
This guide is part of our wainscoting & paneling series.
Learn more about Wainscoting & PanelingHave a project in mind? Let's start a conversation.
Tell us what you are thinking about and we will give you a straight answer about scope, timeline, and investment.
Start a Conversation